Learn how to configure your physical business locations and register new Stripe Terminal readers. This guide simplifies the setup process to ensure your payment hardware is correctly linked to your Stripe account
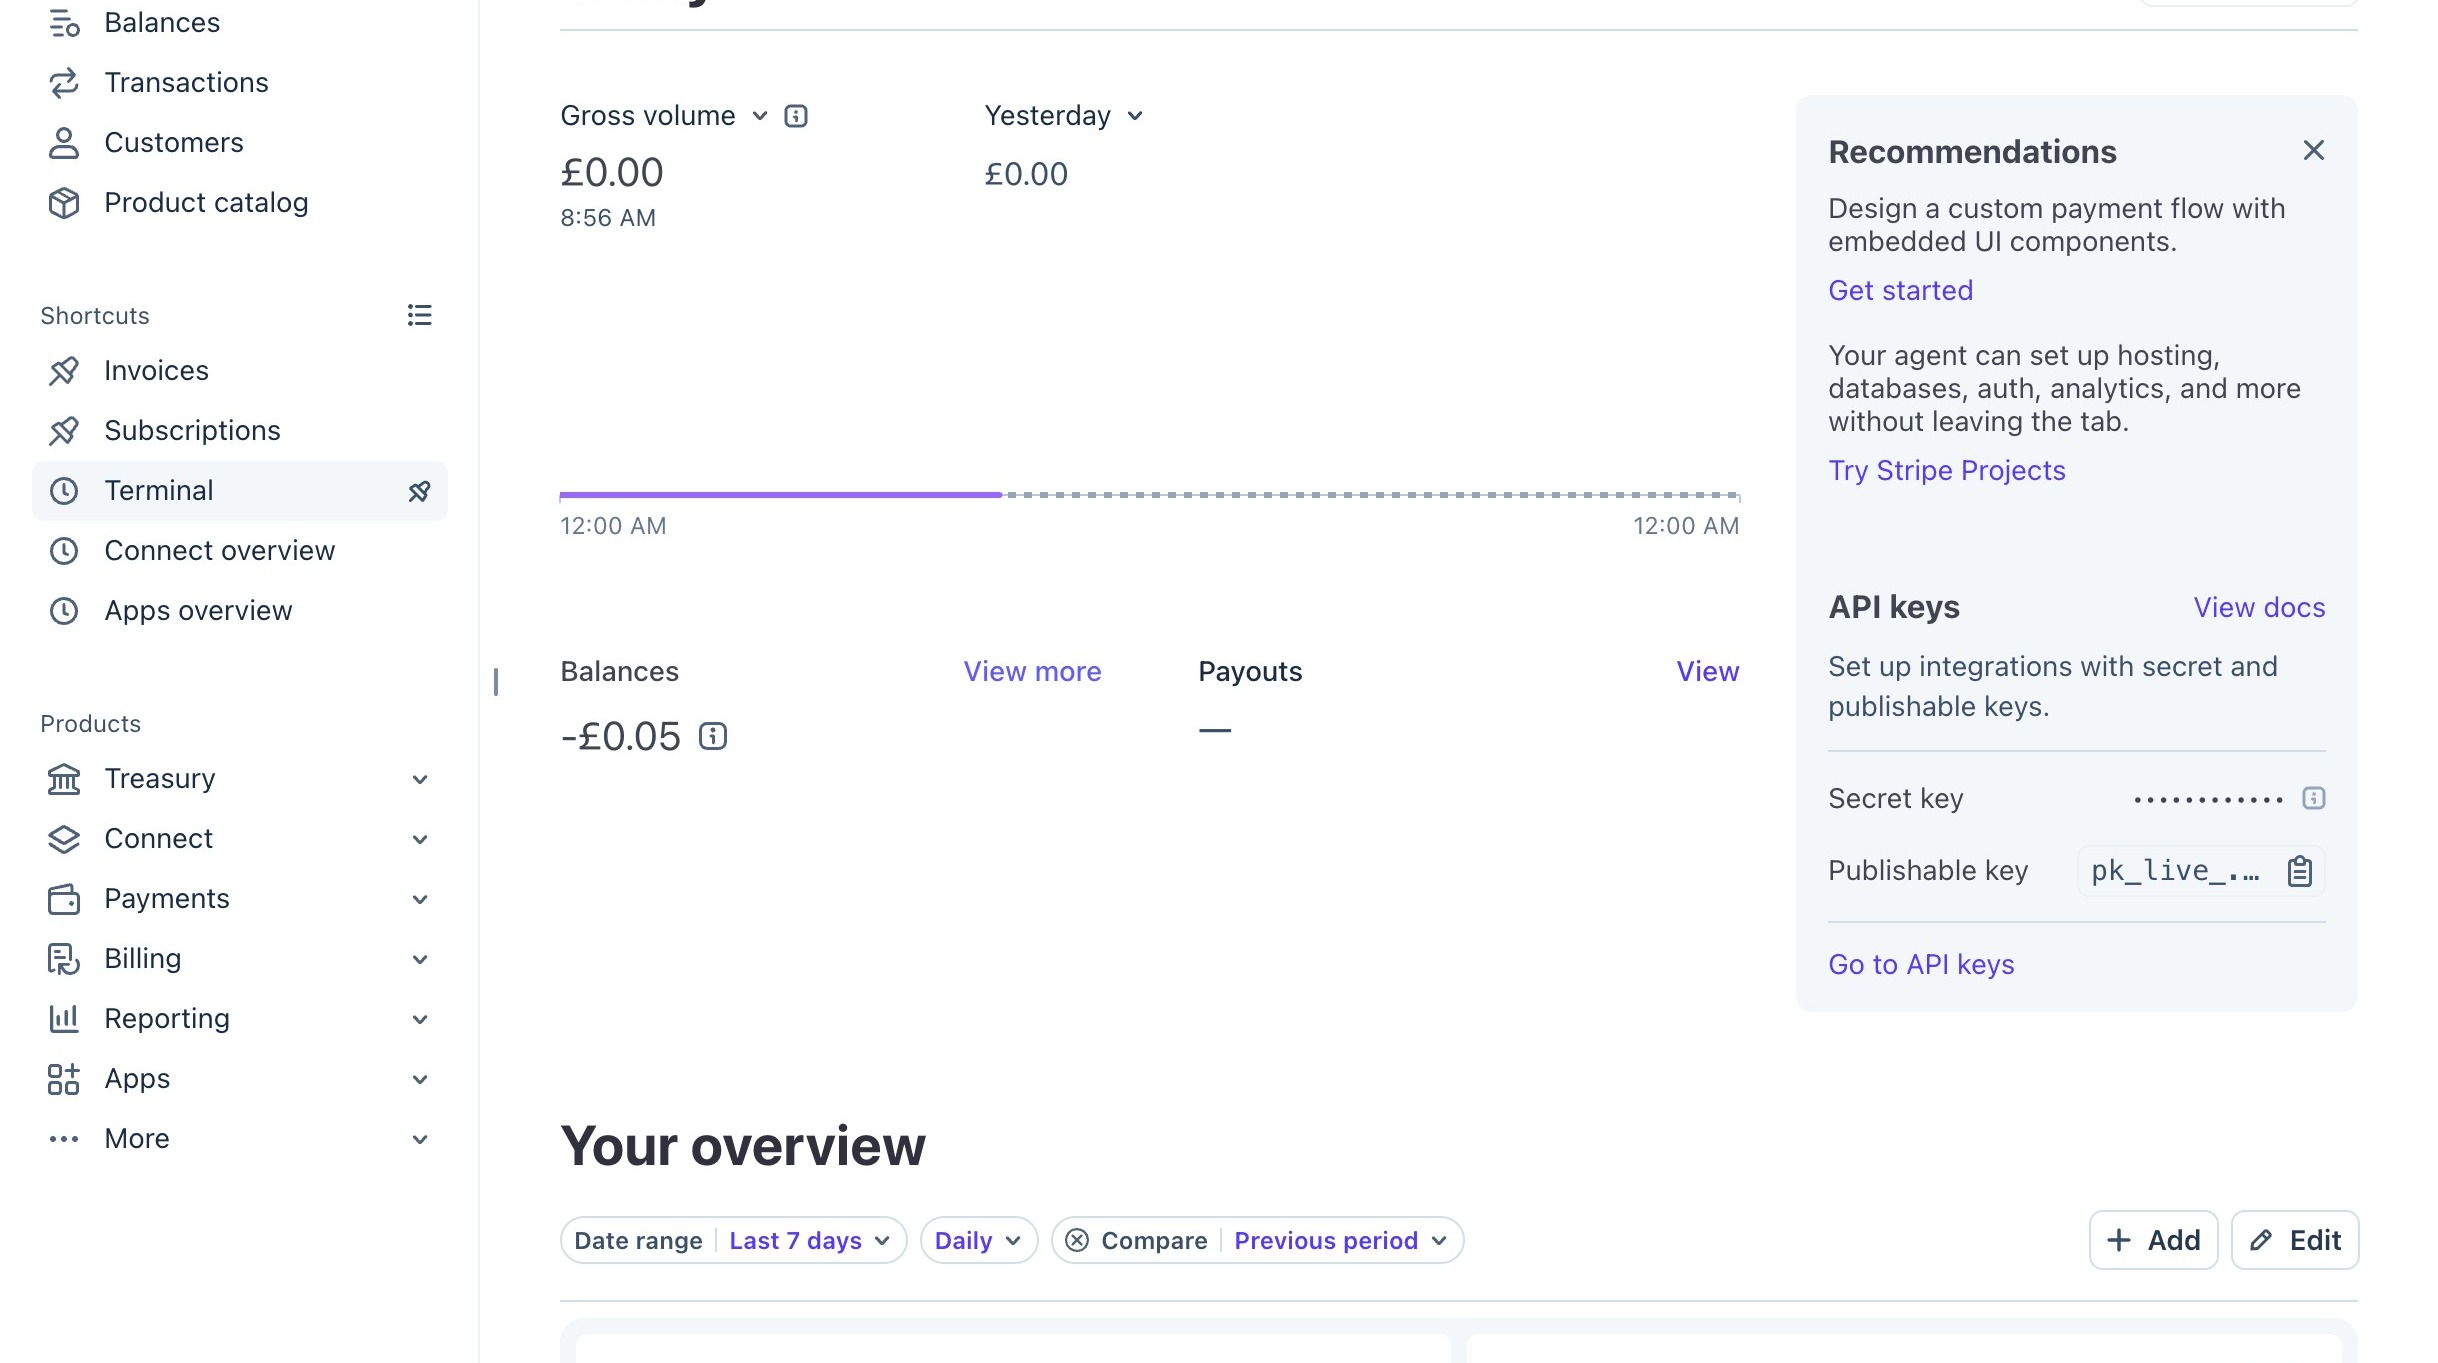
1. Navigate to https://dashboard.stripe.com/
Stripe Location Setup
2. Click "Terminal"
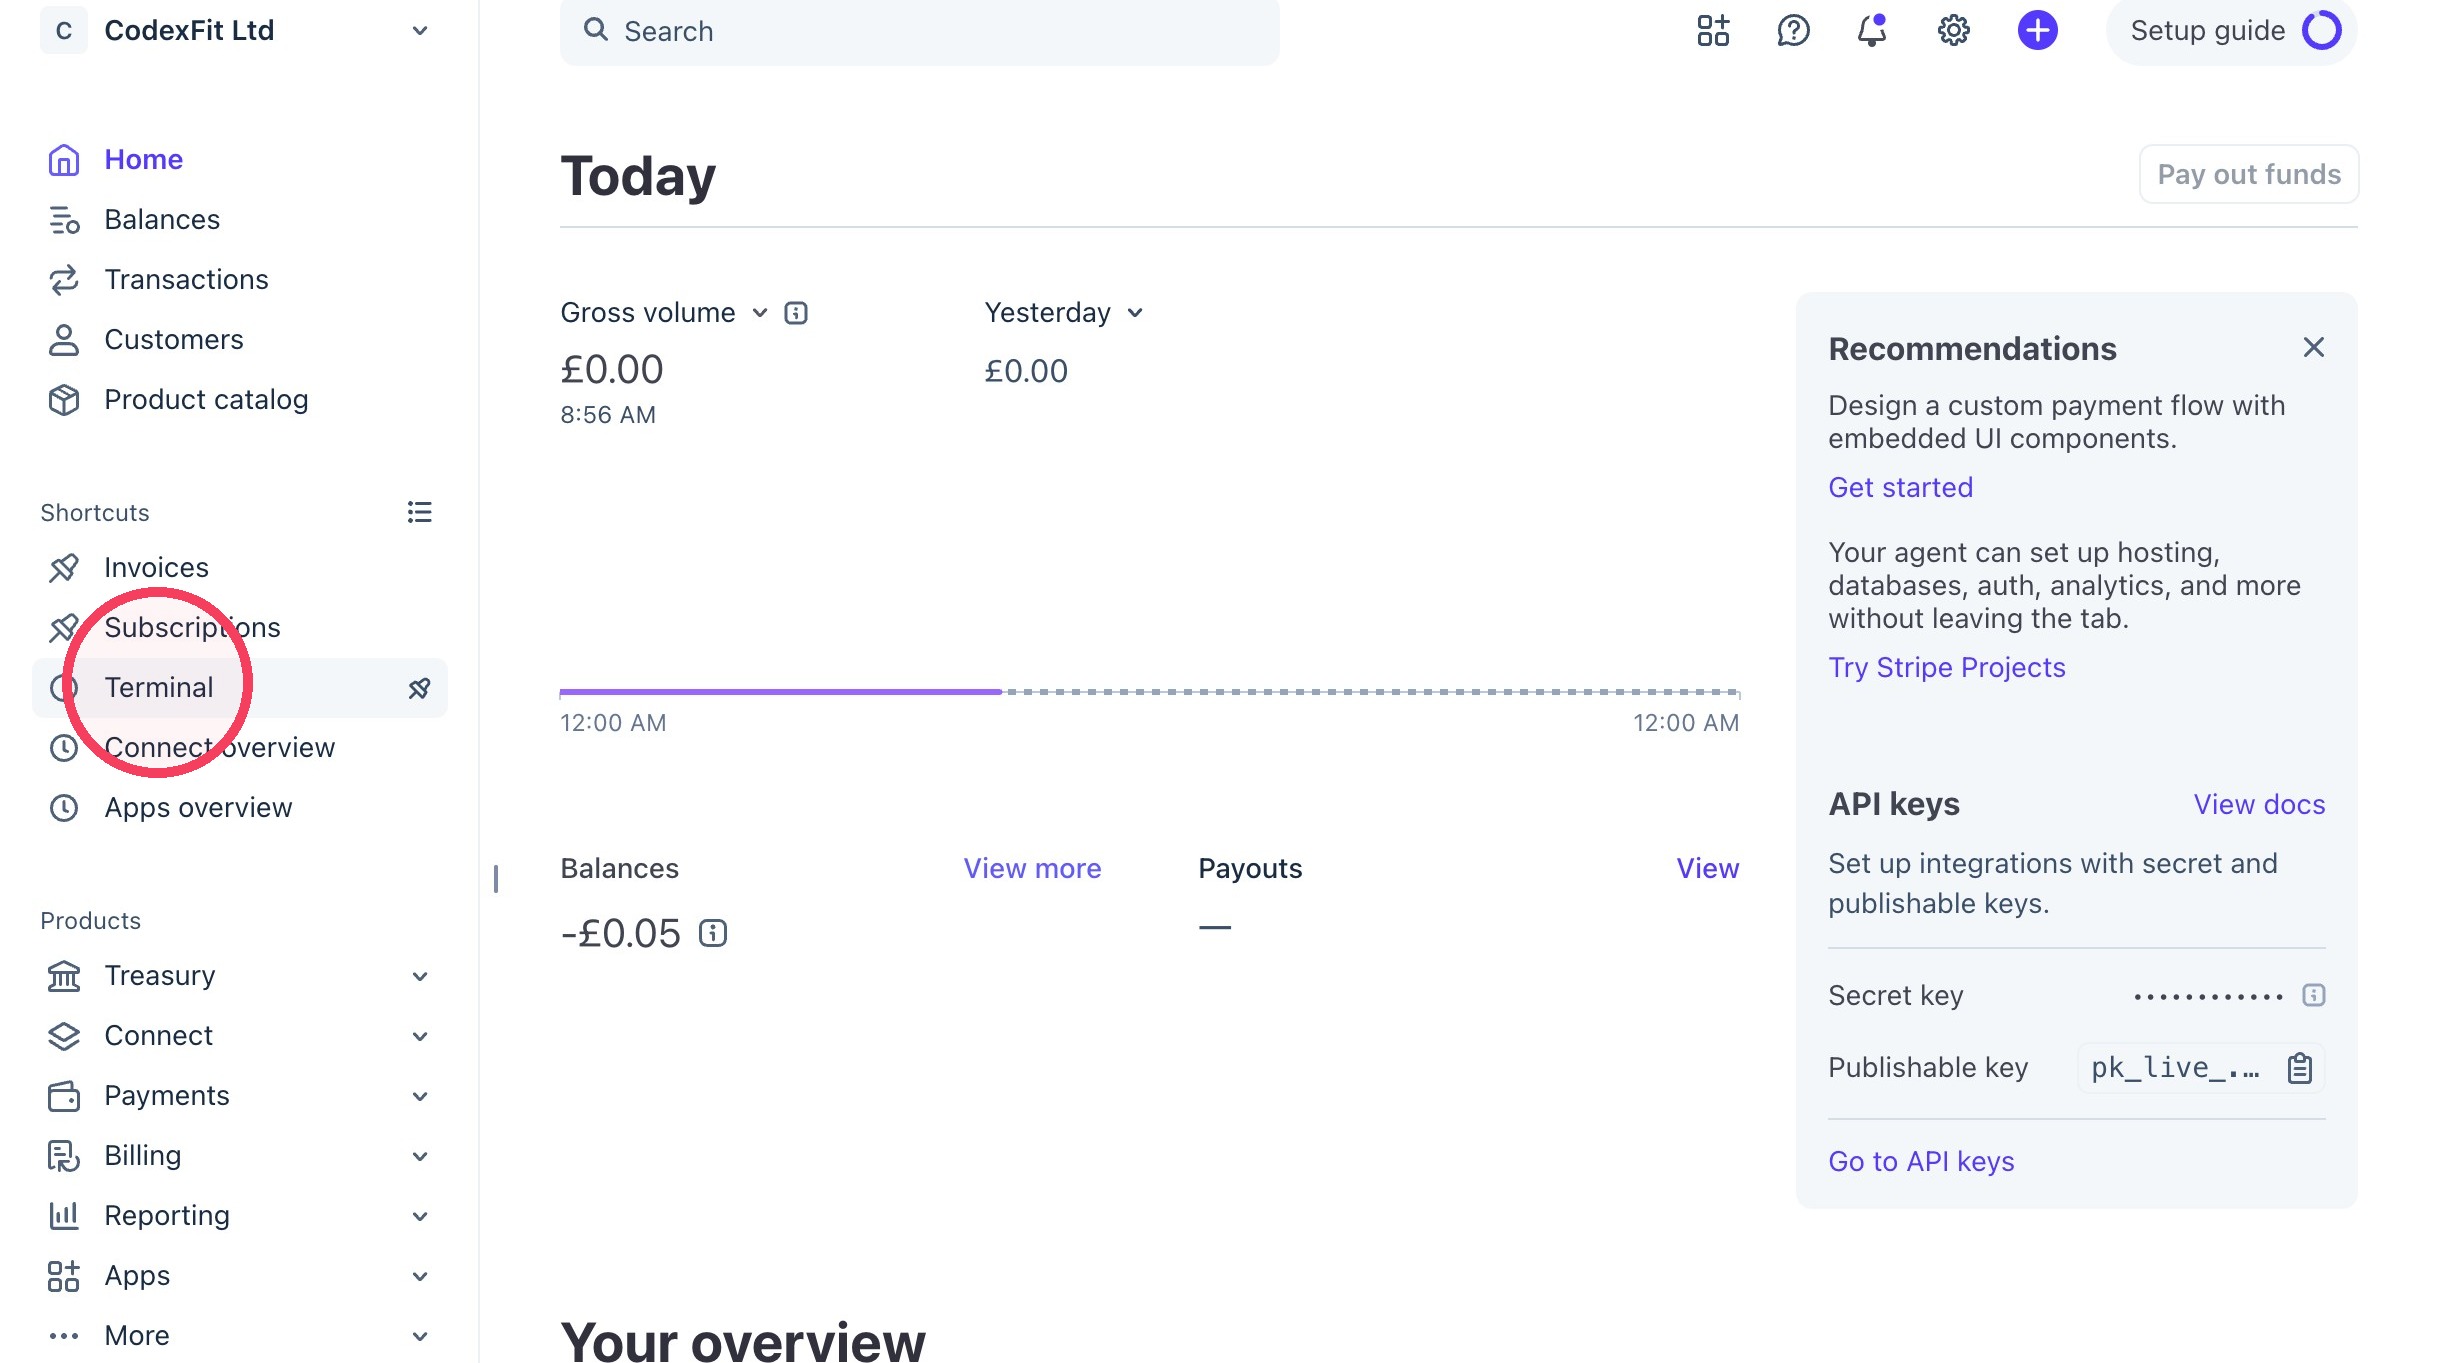
3. Click "Locations"
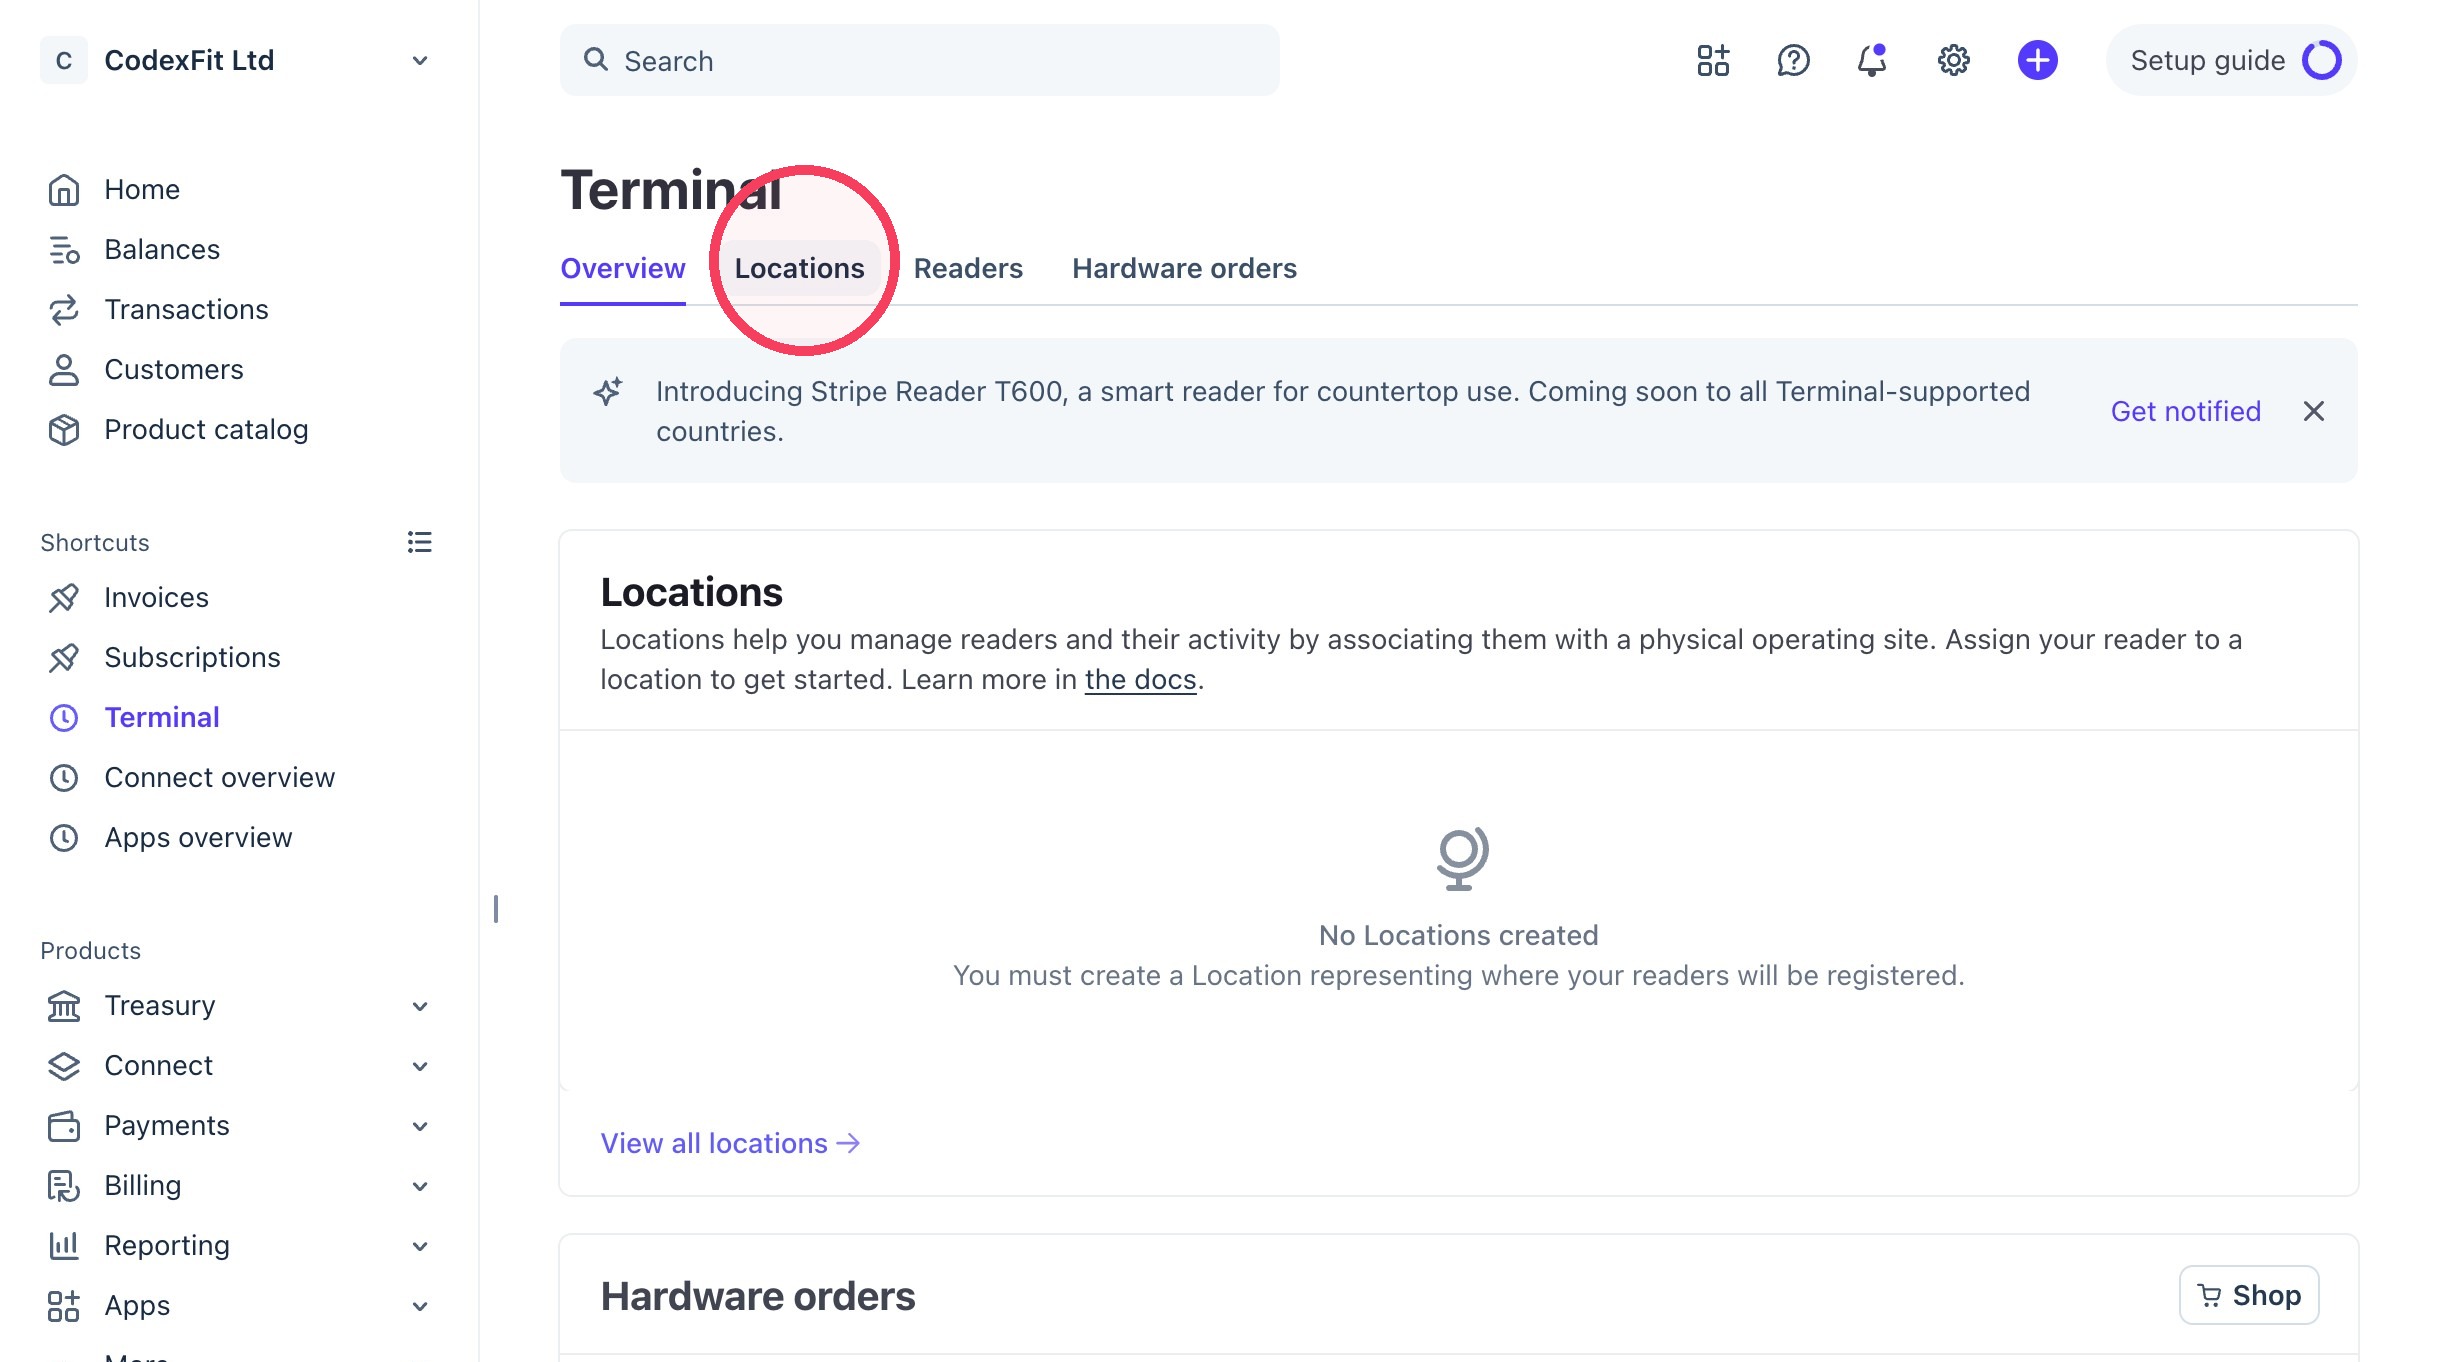
4. Click "Create Location"
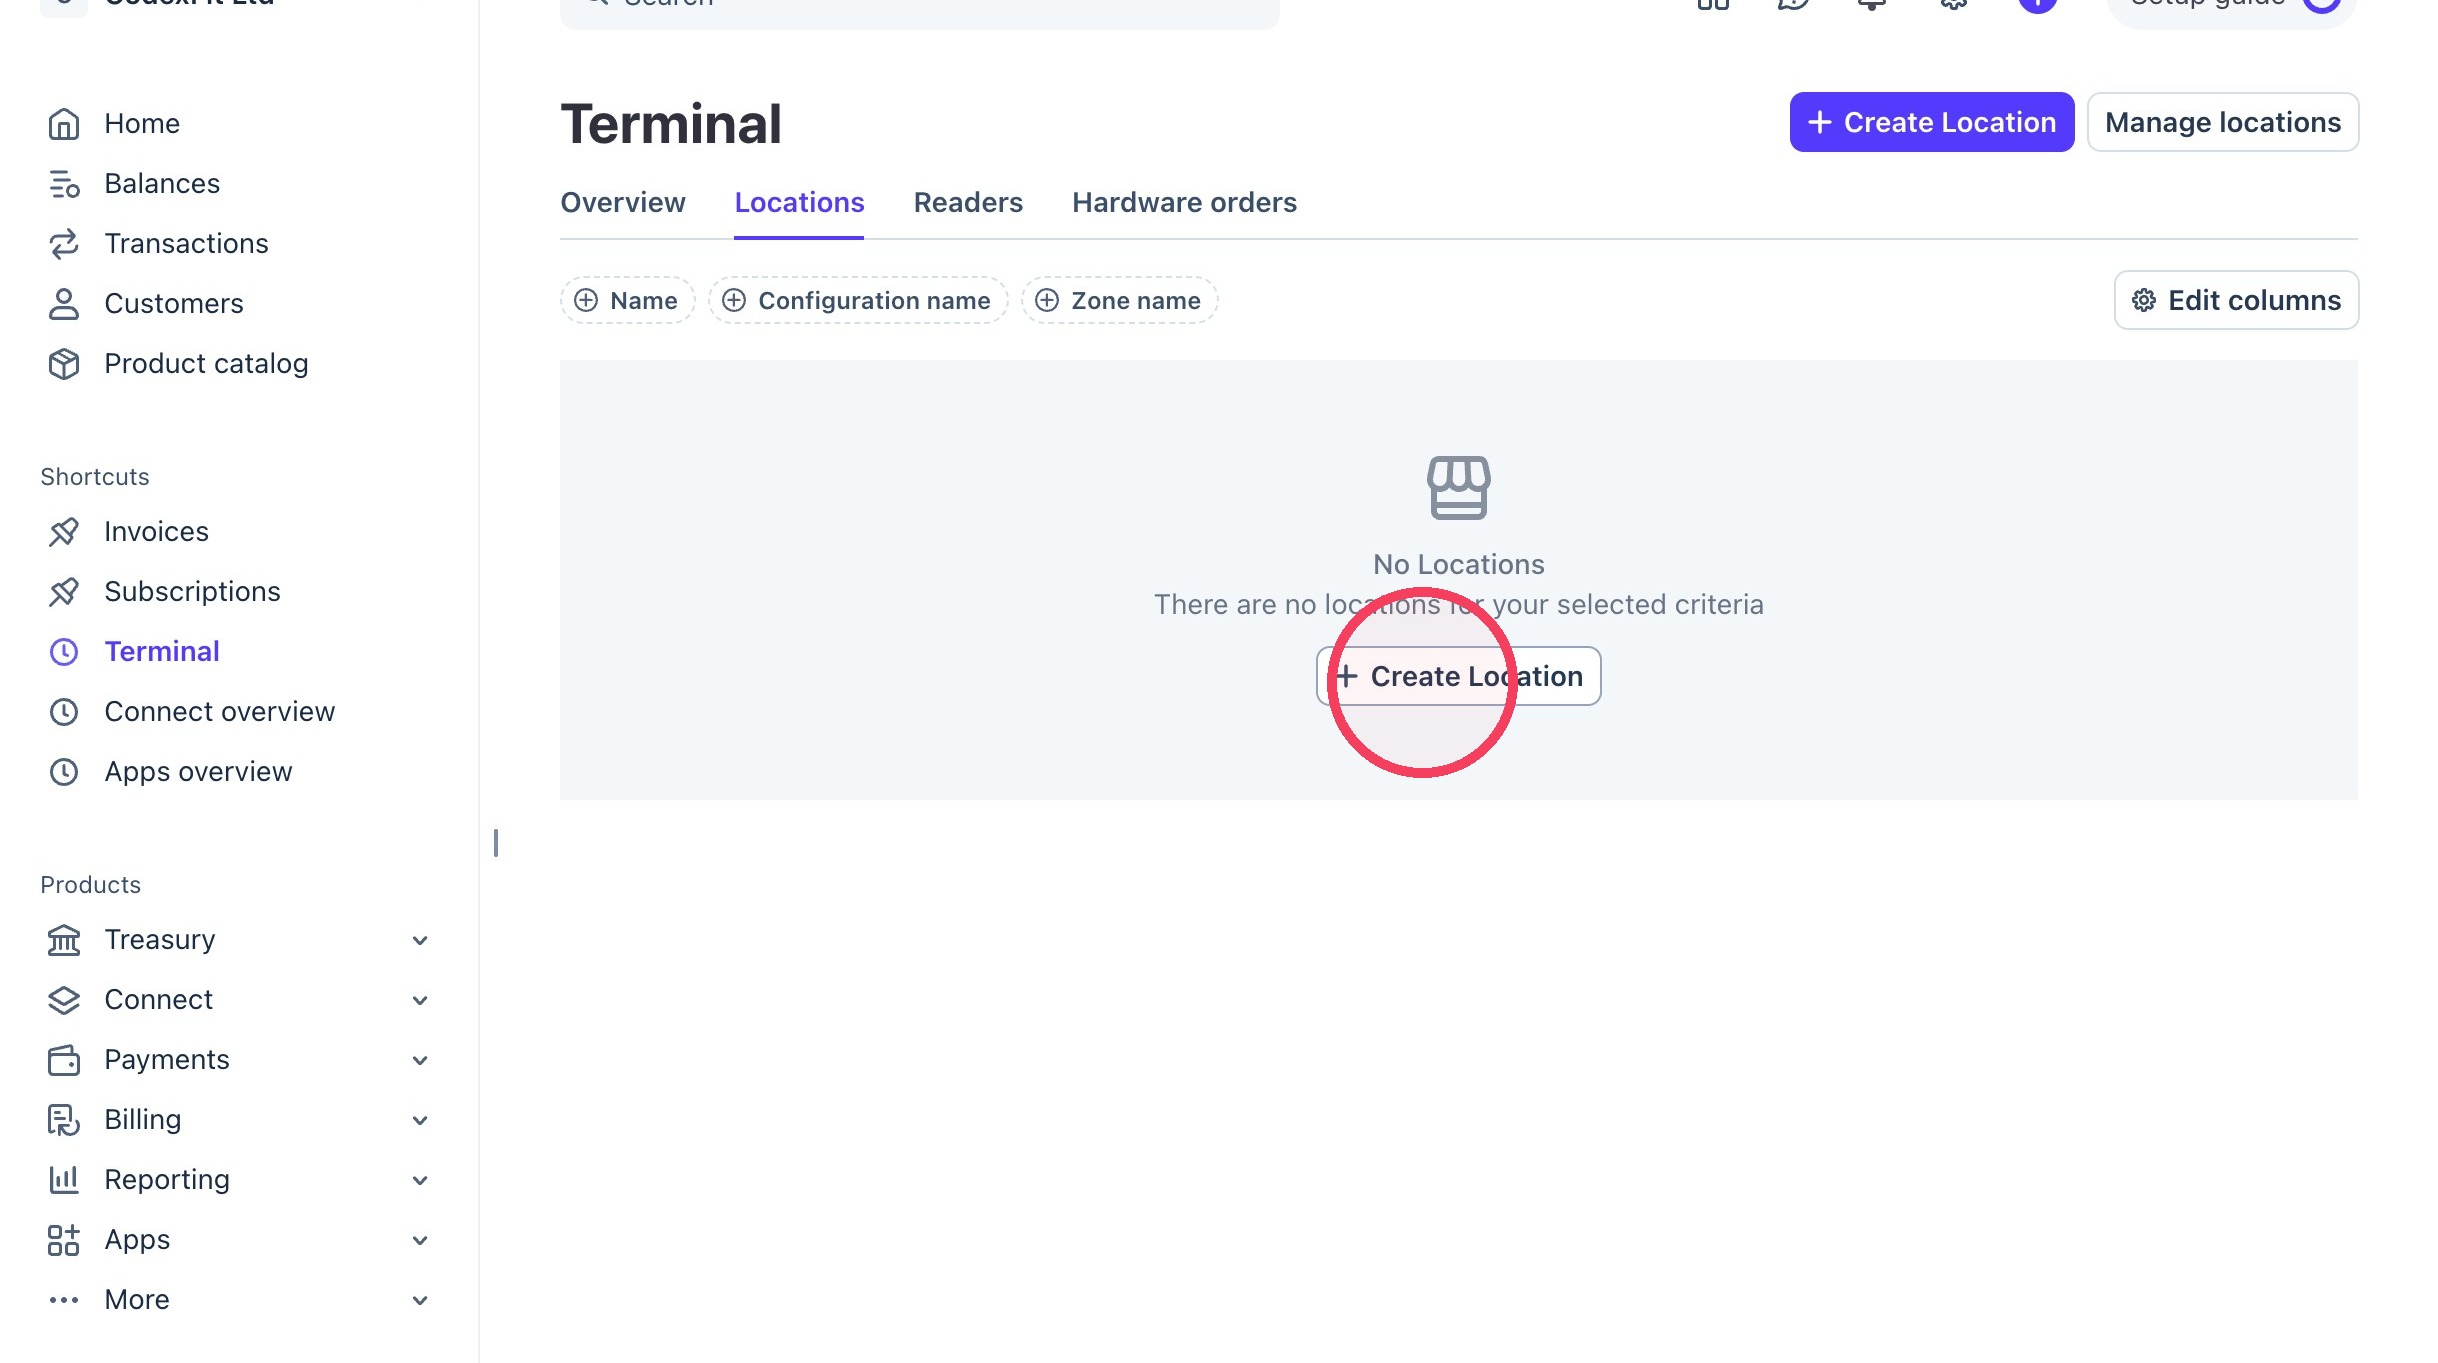
5. Enter your studio location in the Location name field.
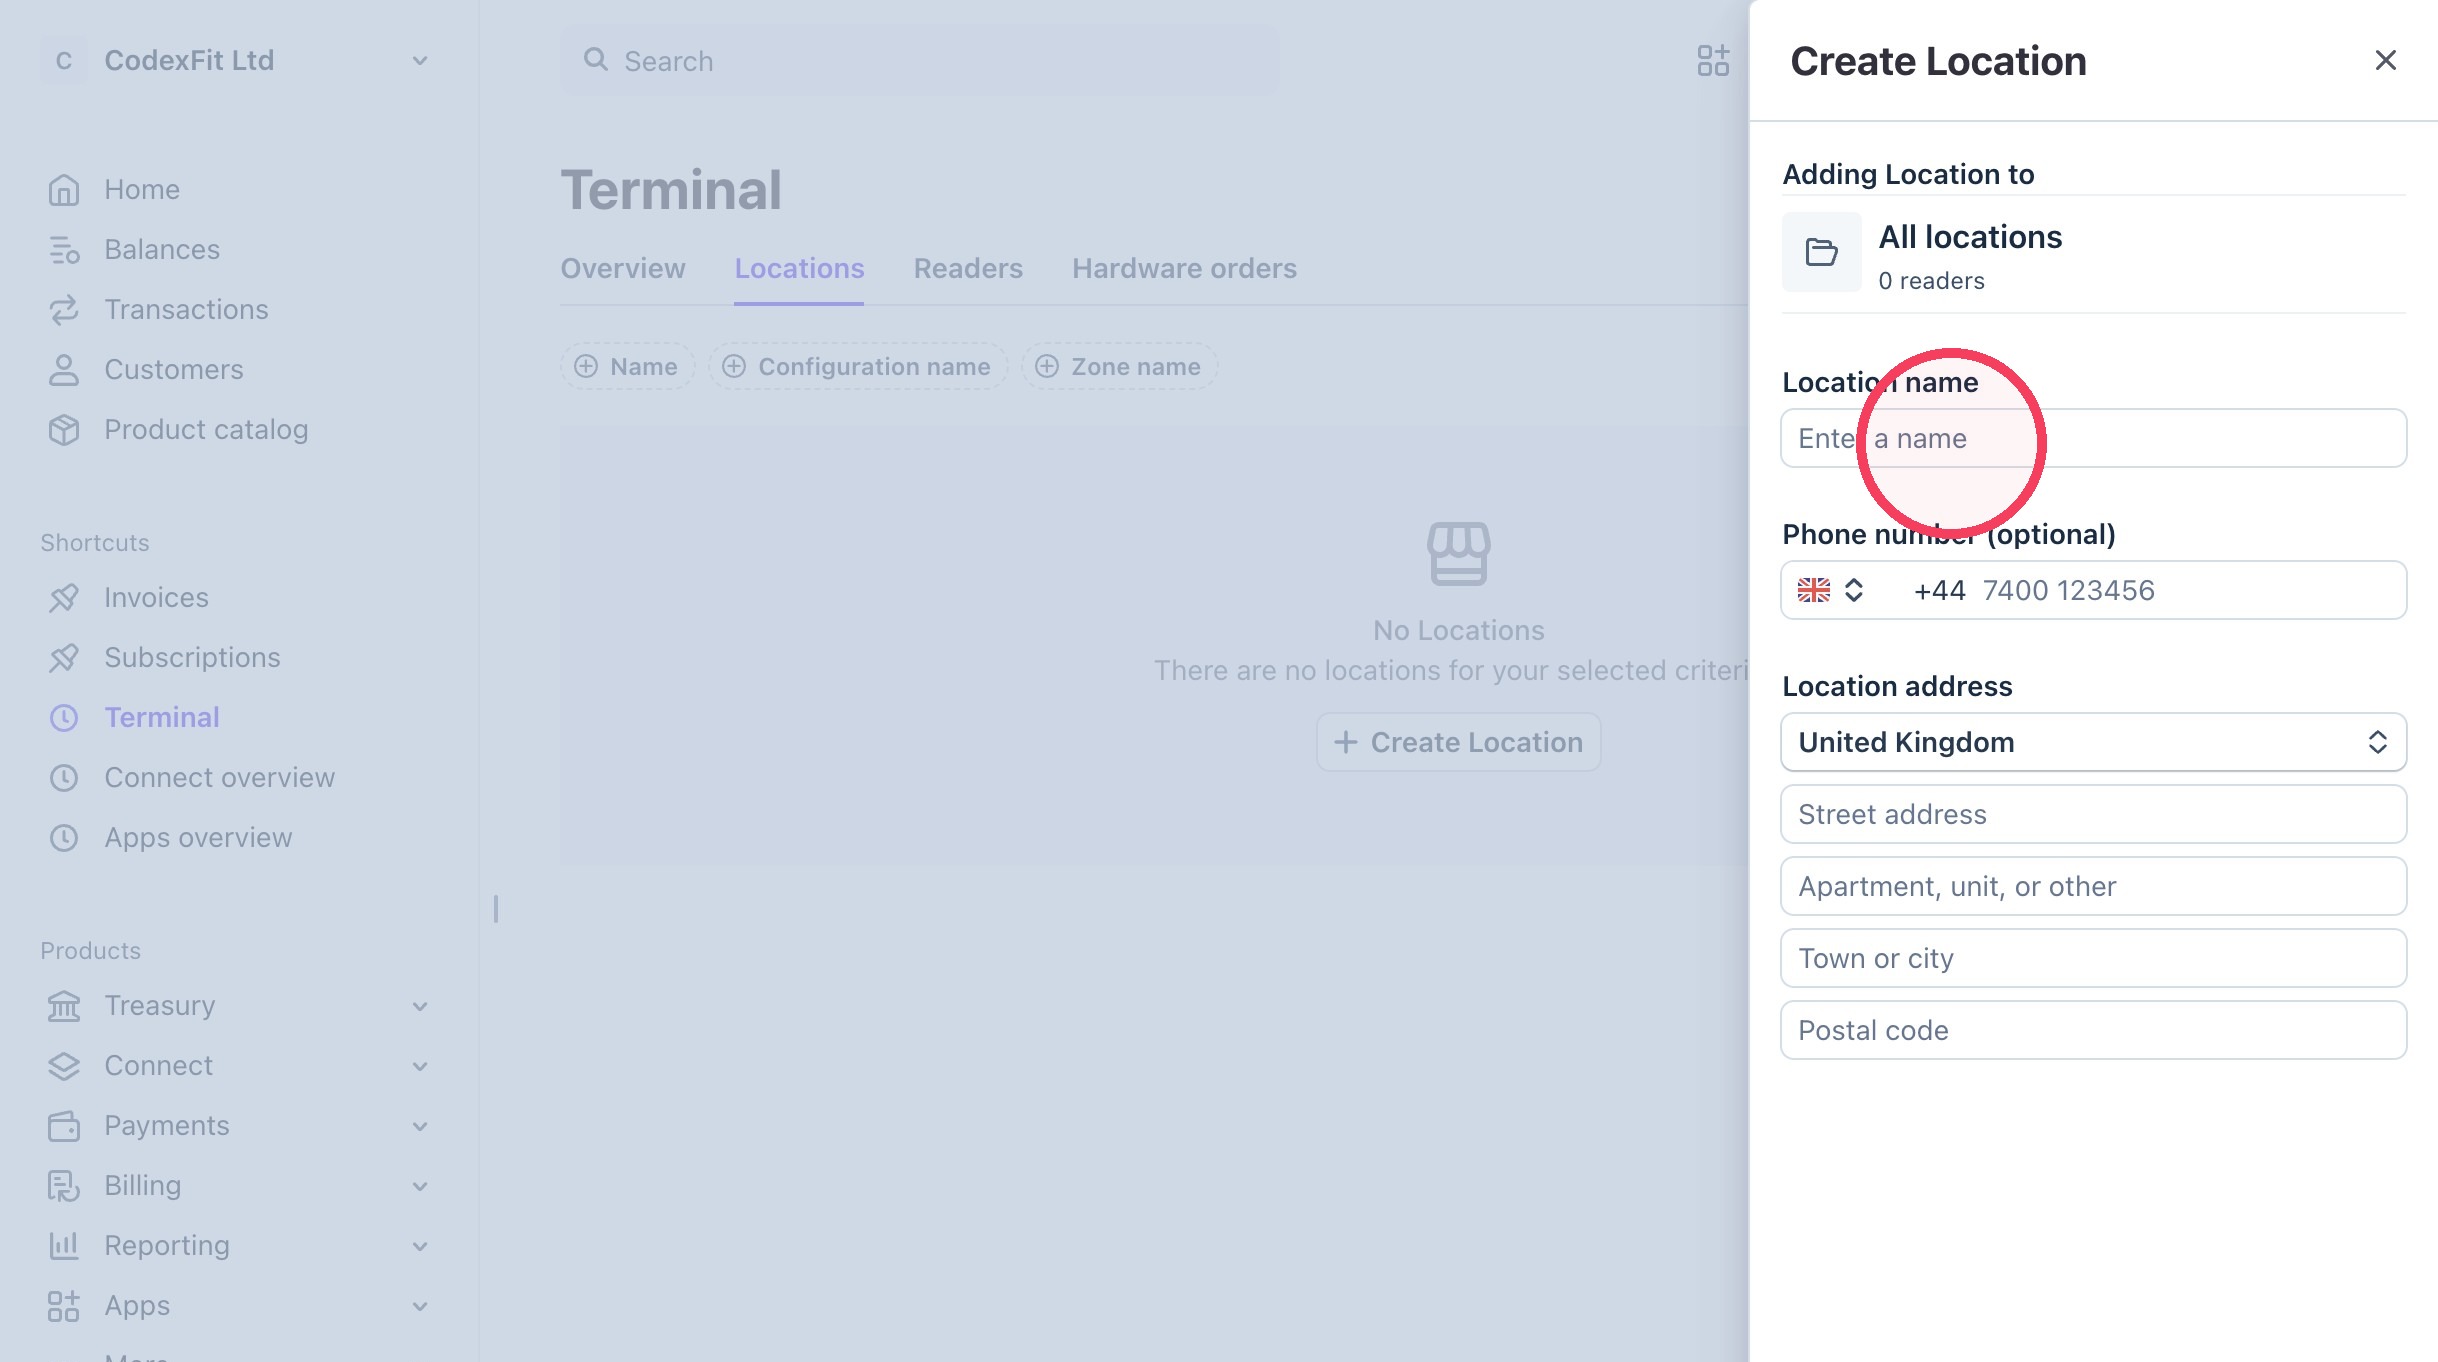
6. Click the "Street address" field.
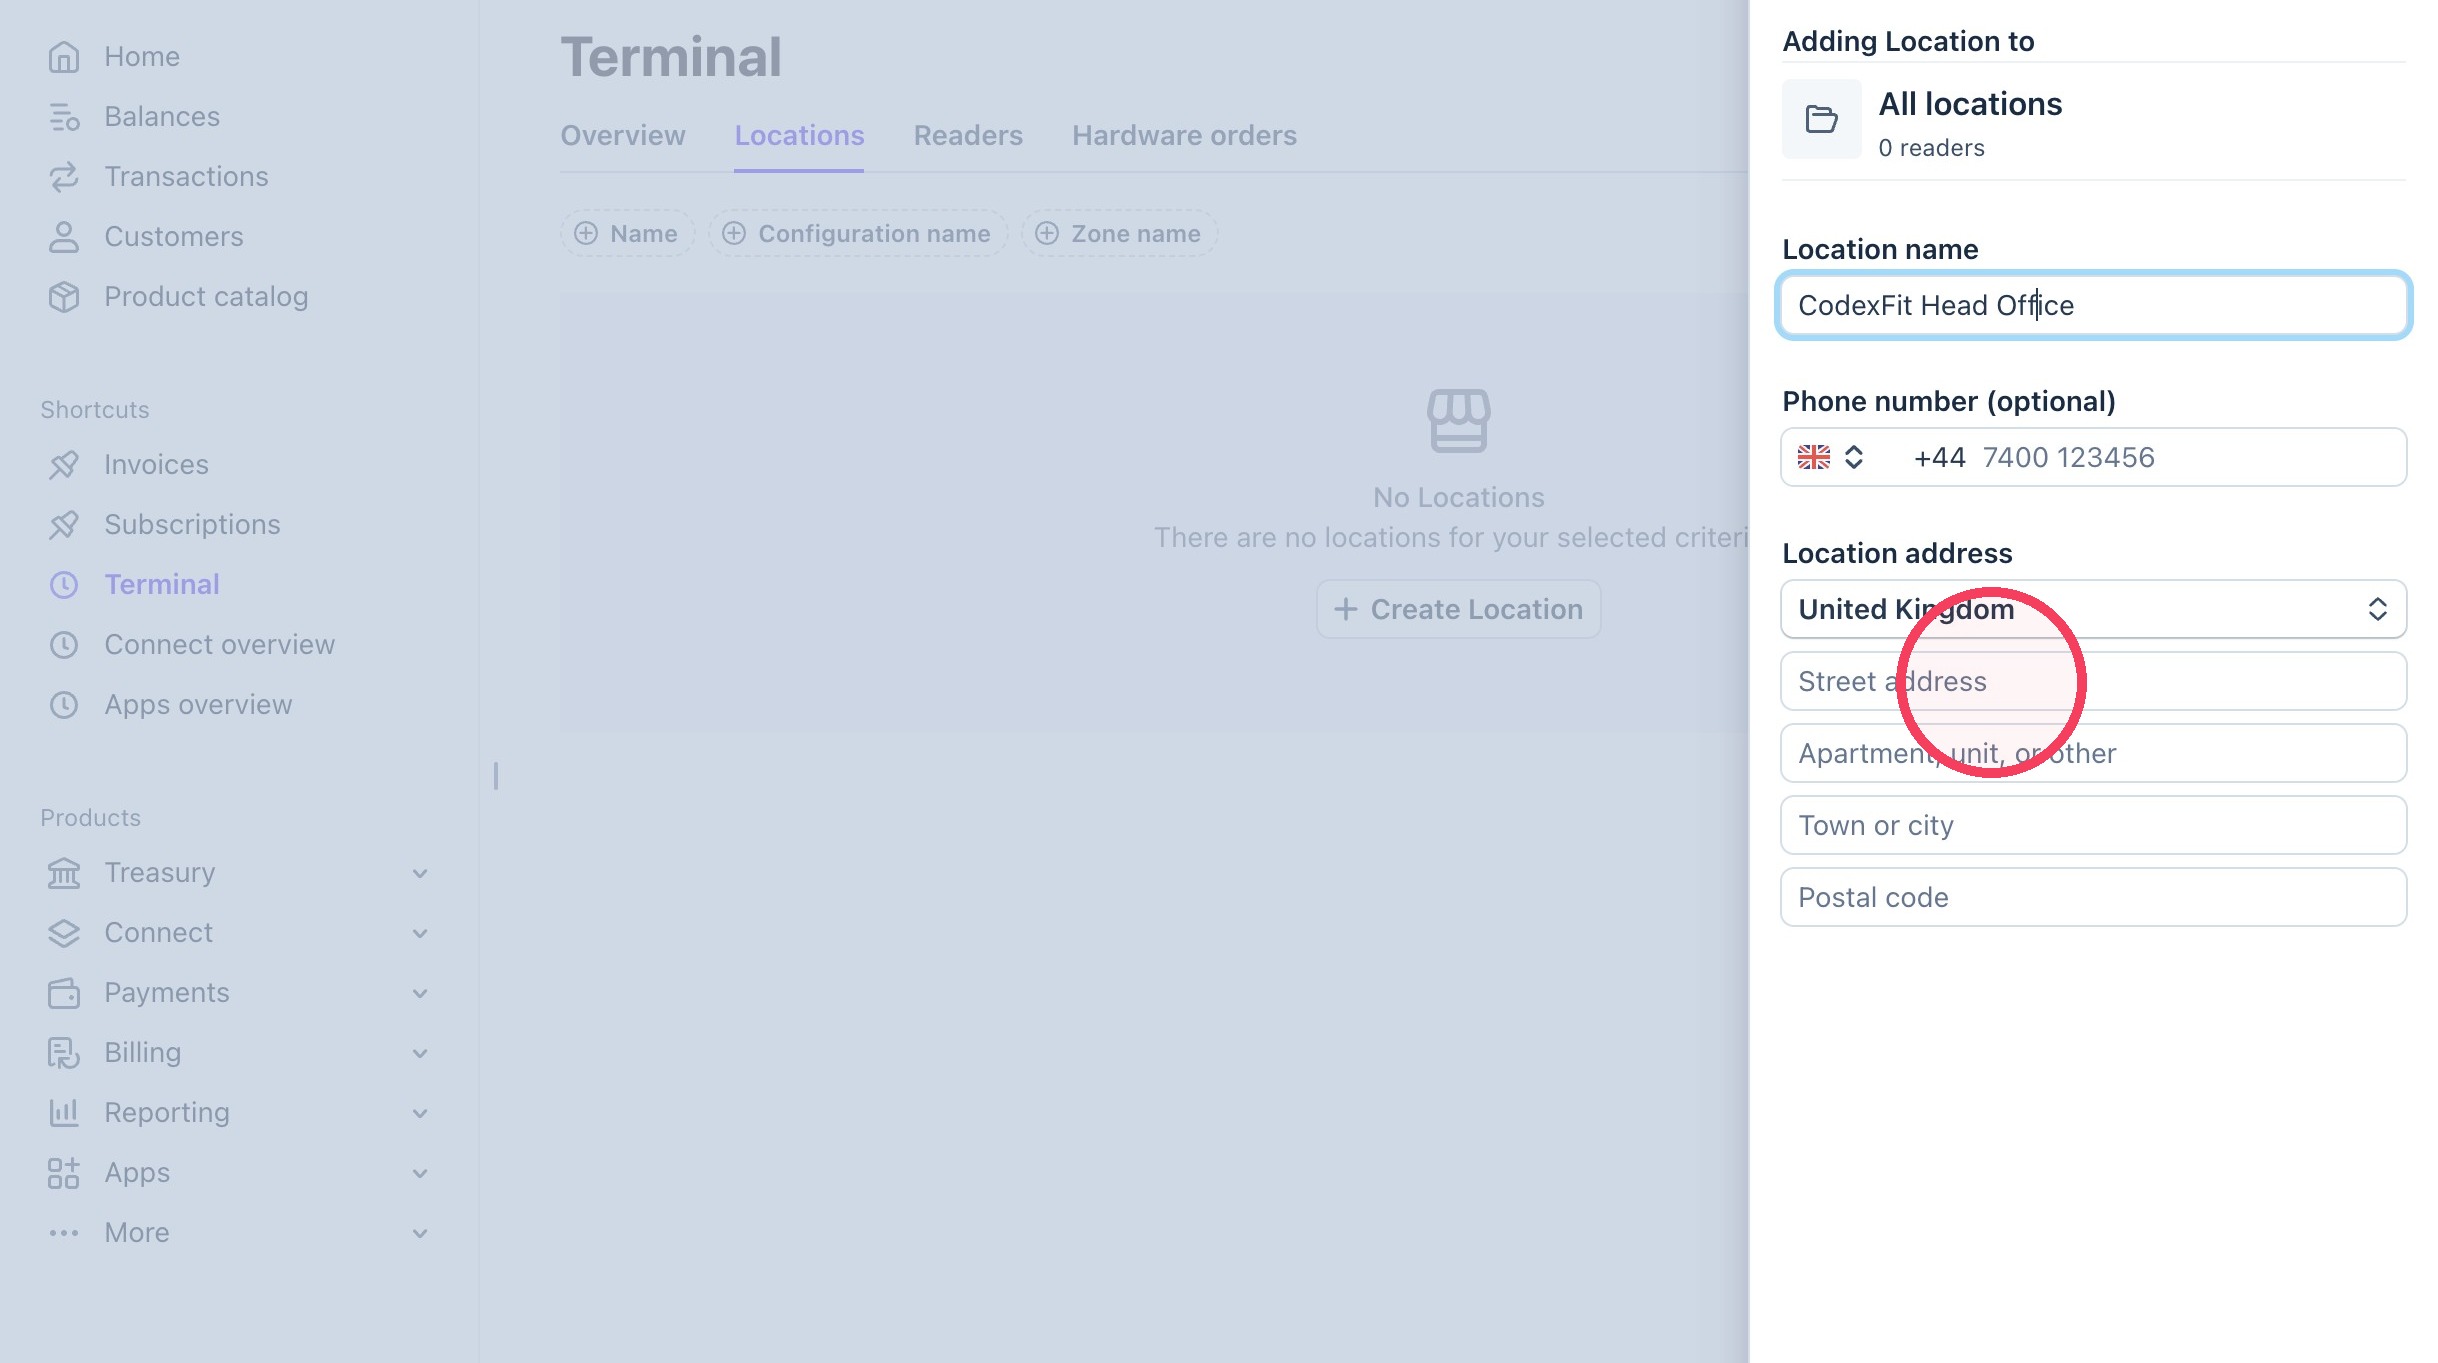
7. Fill out your location address
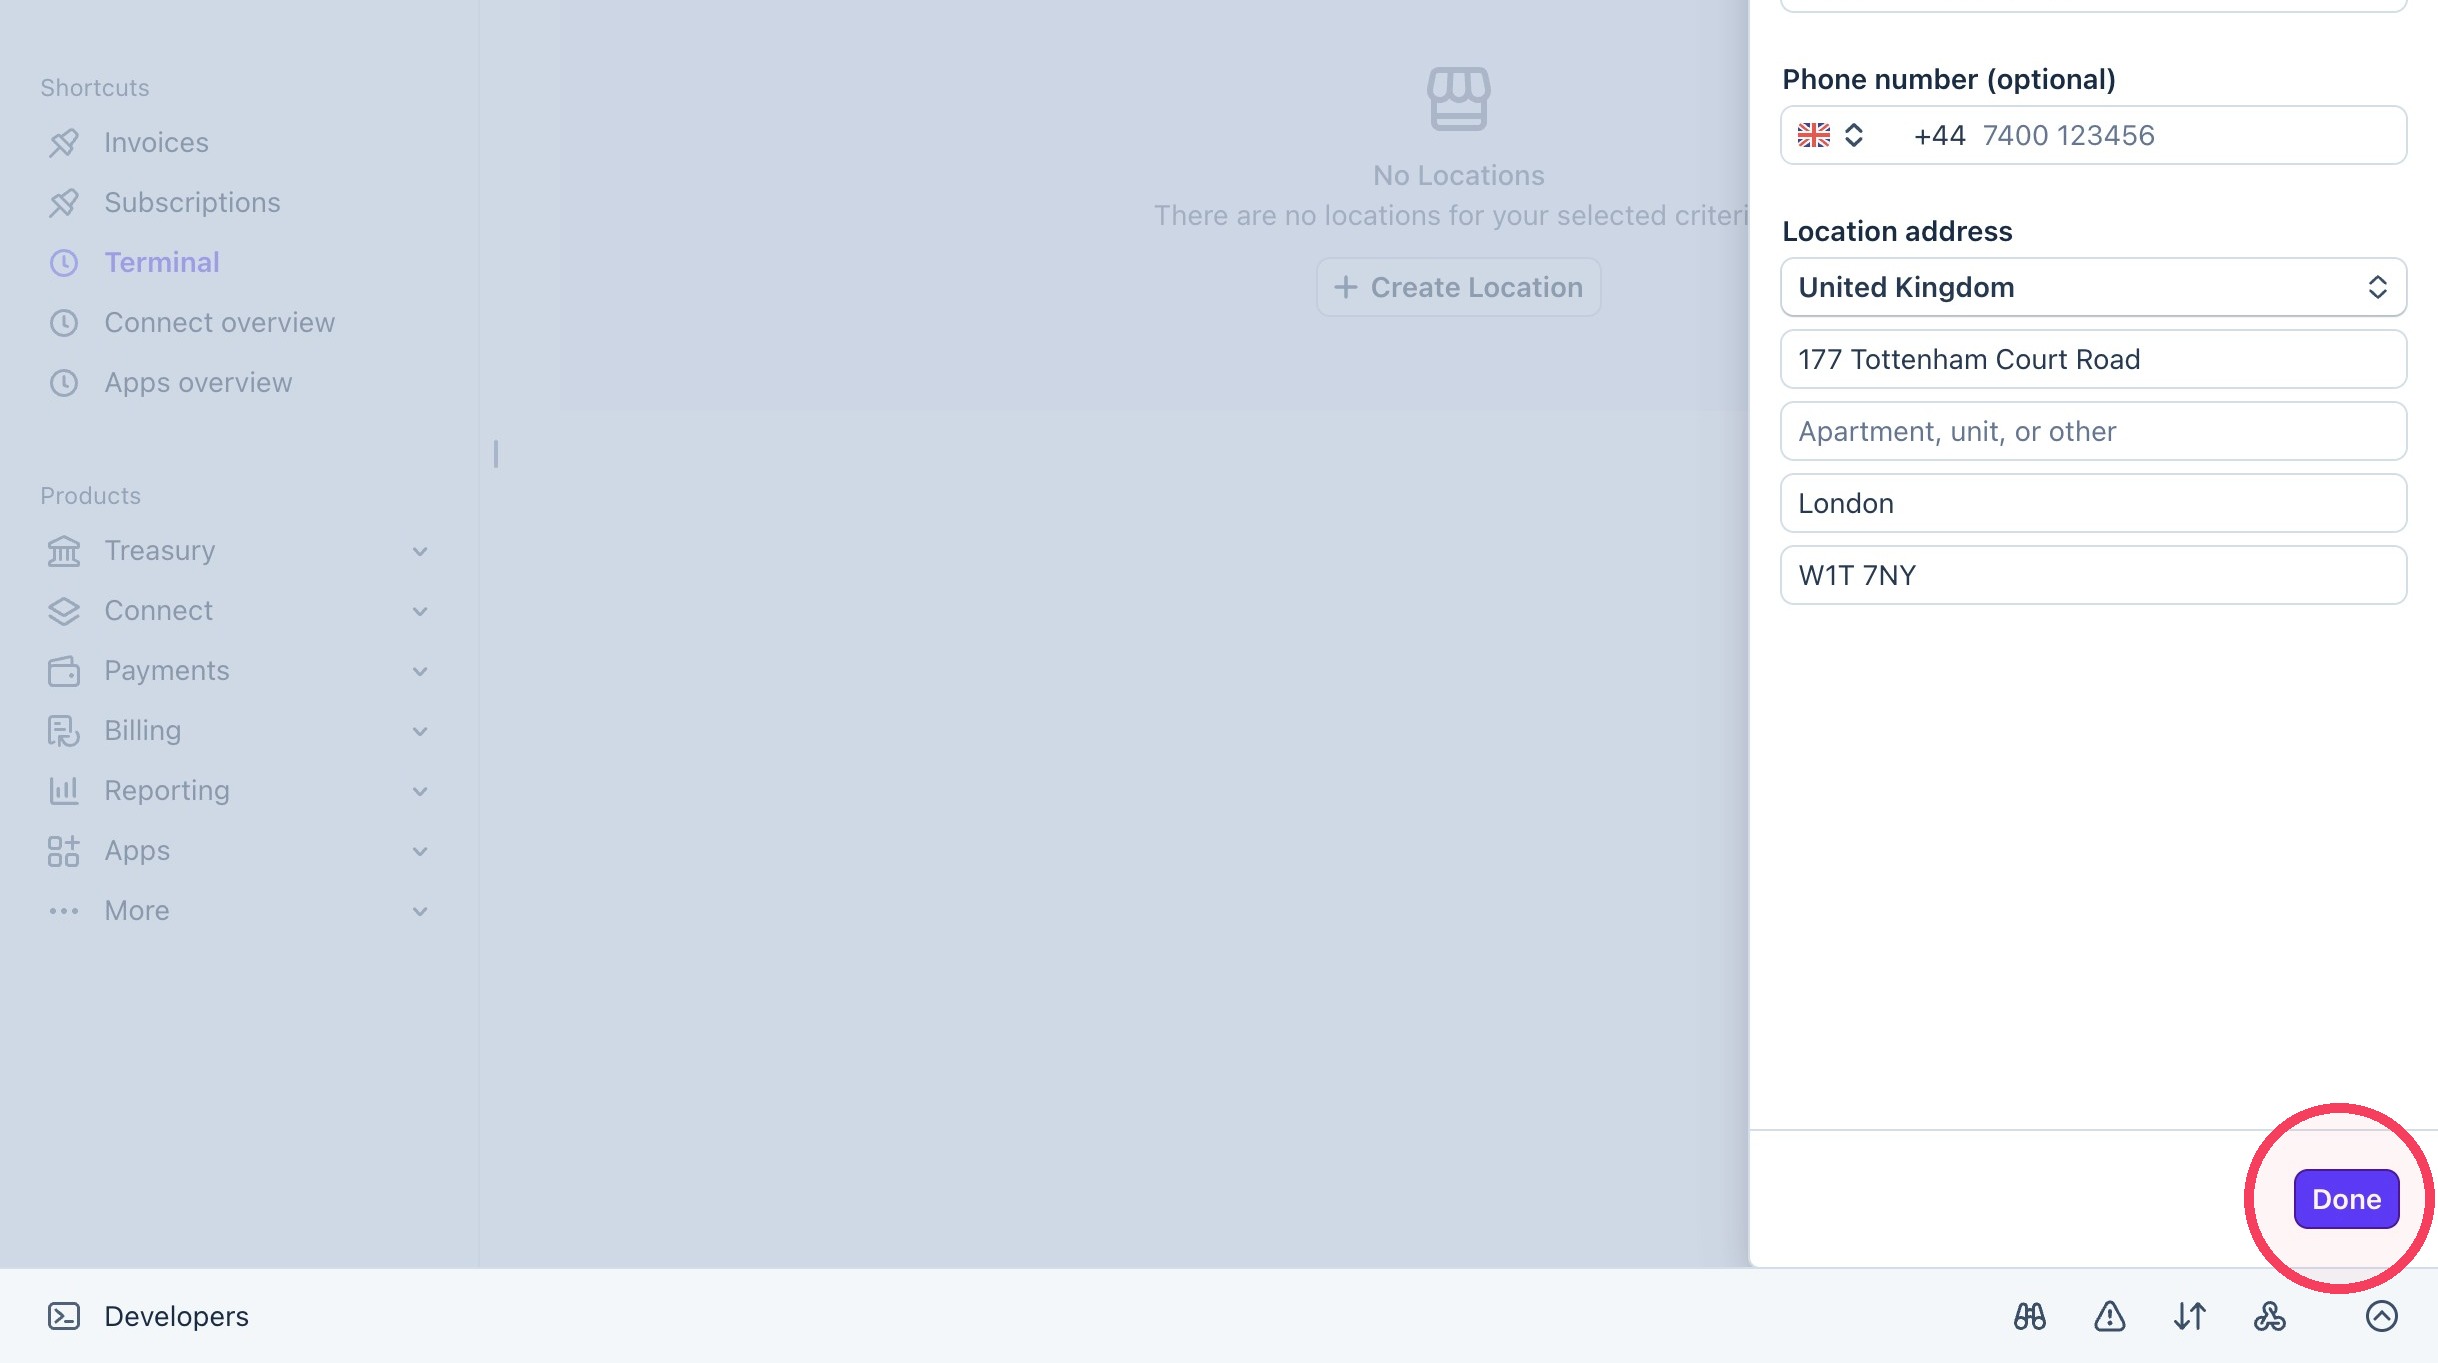
8. Click "Done"
9. Click "CodexFit Head Office"
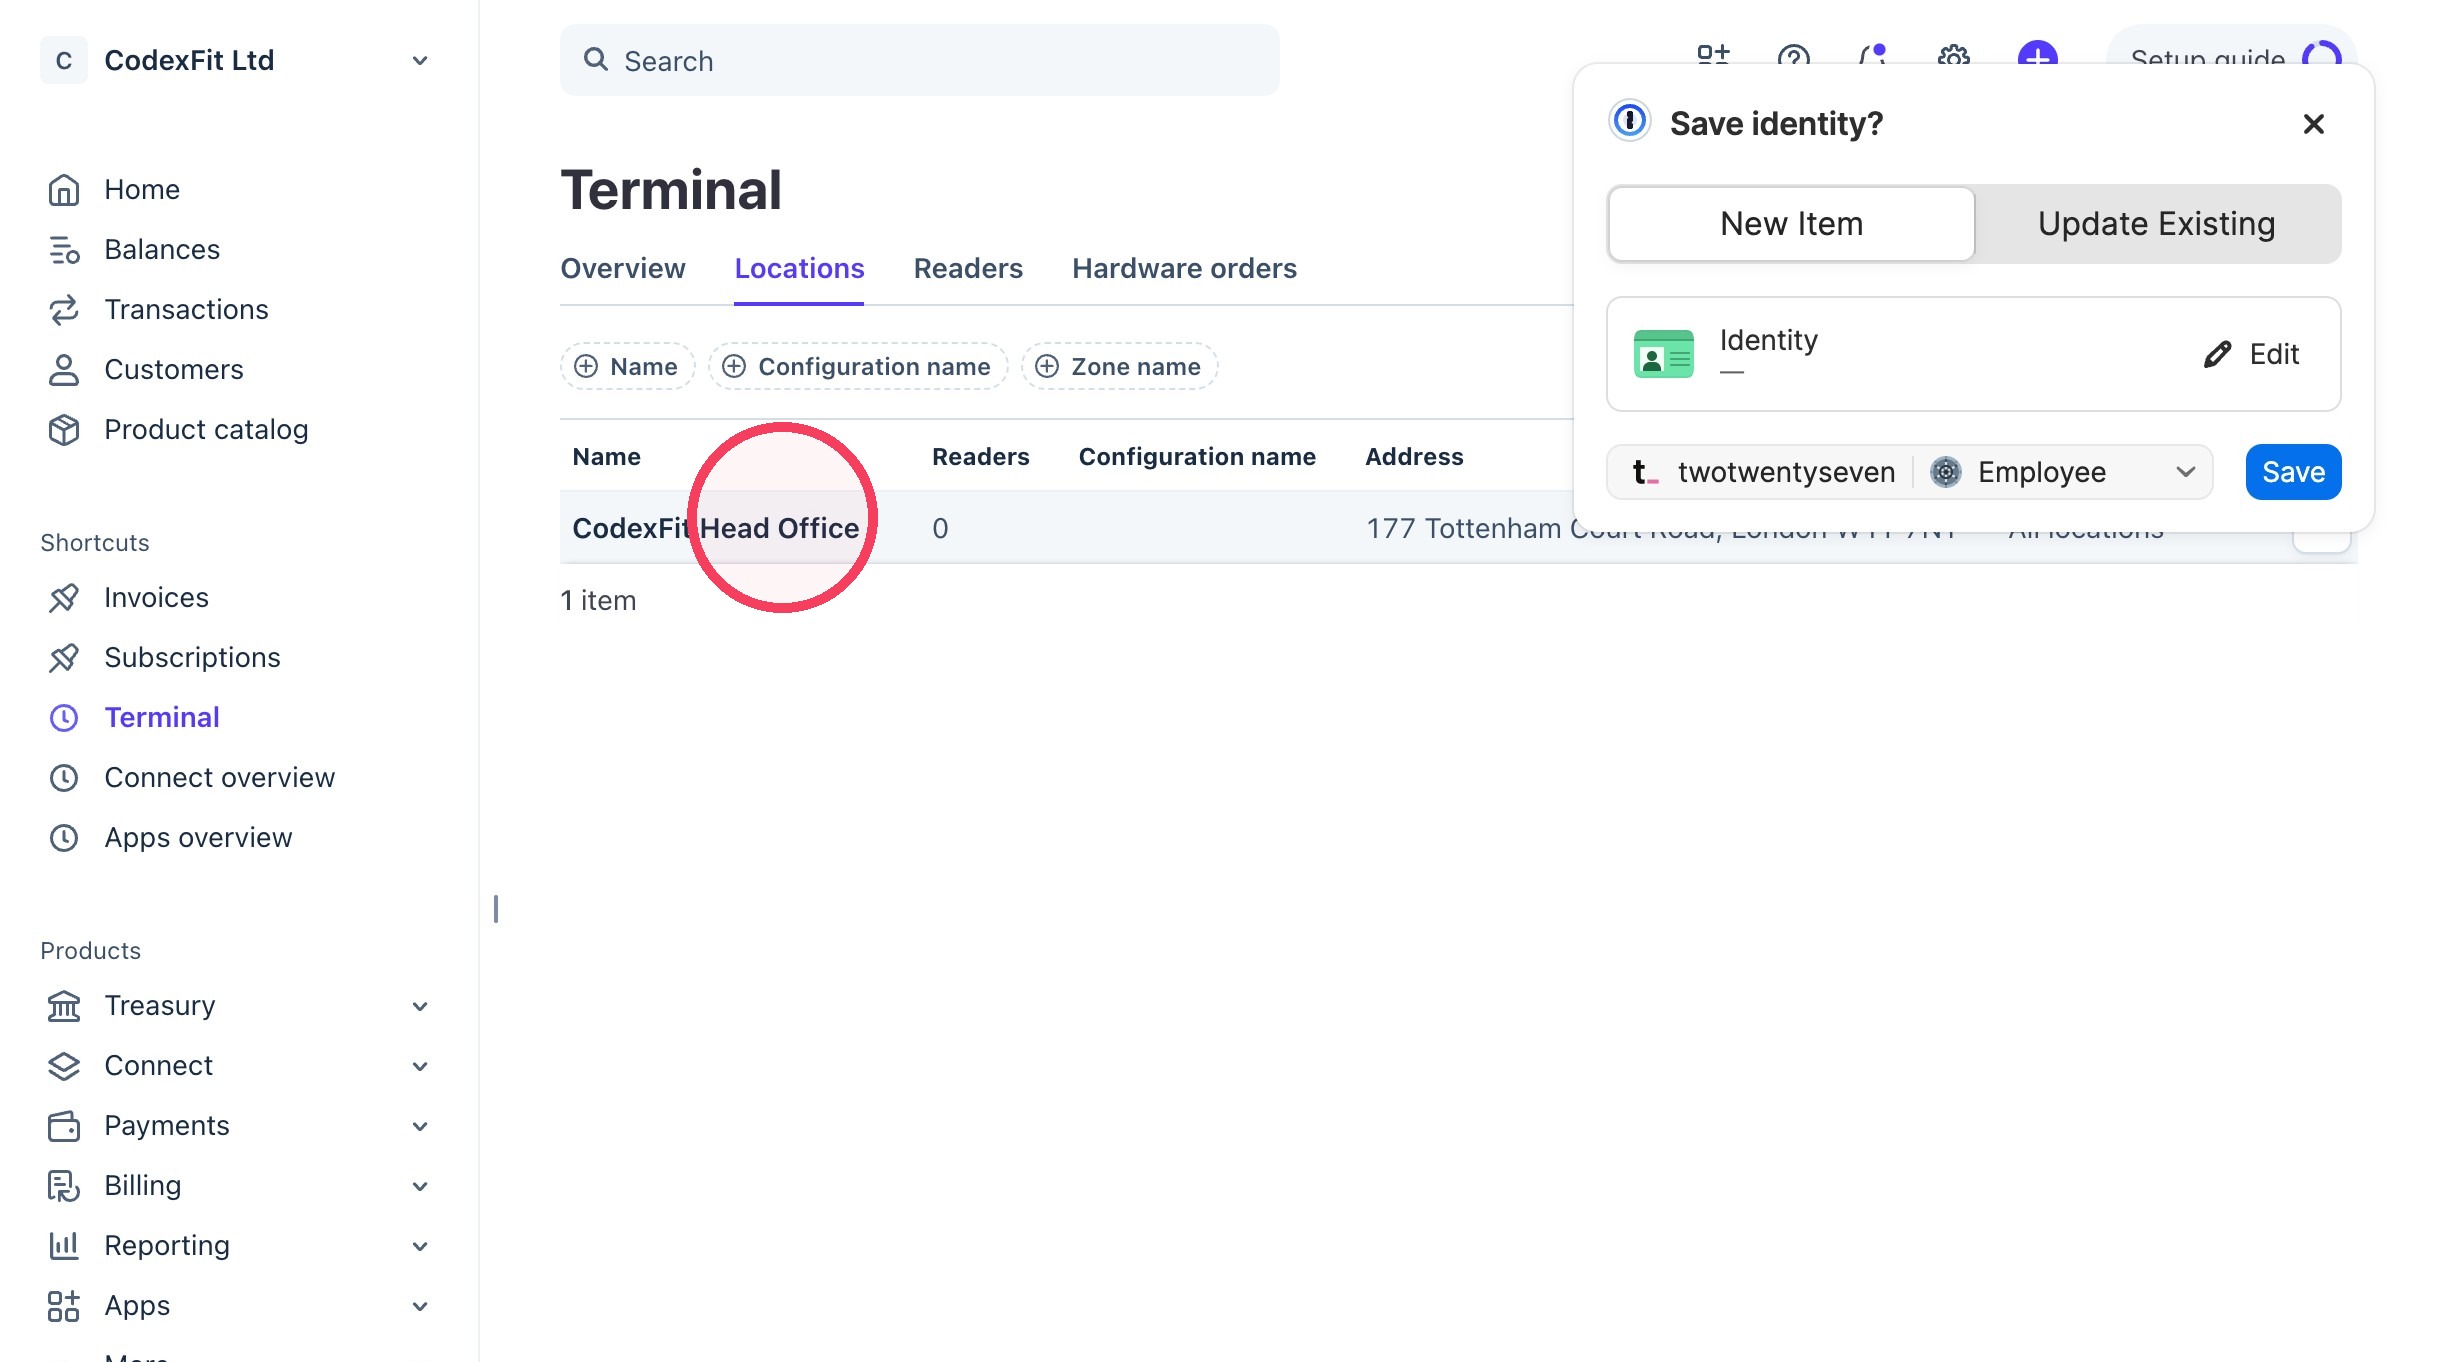
10. Click "Register reader"
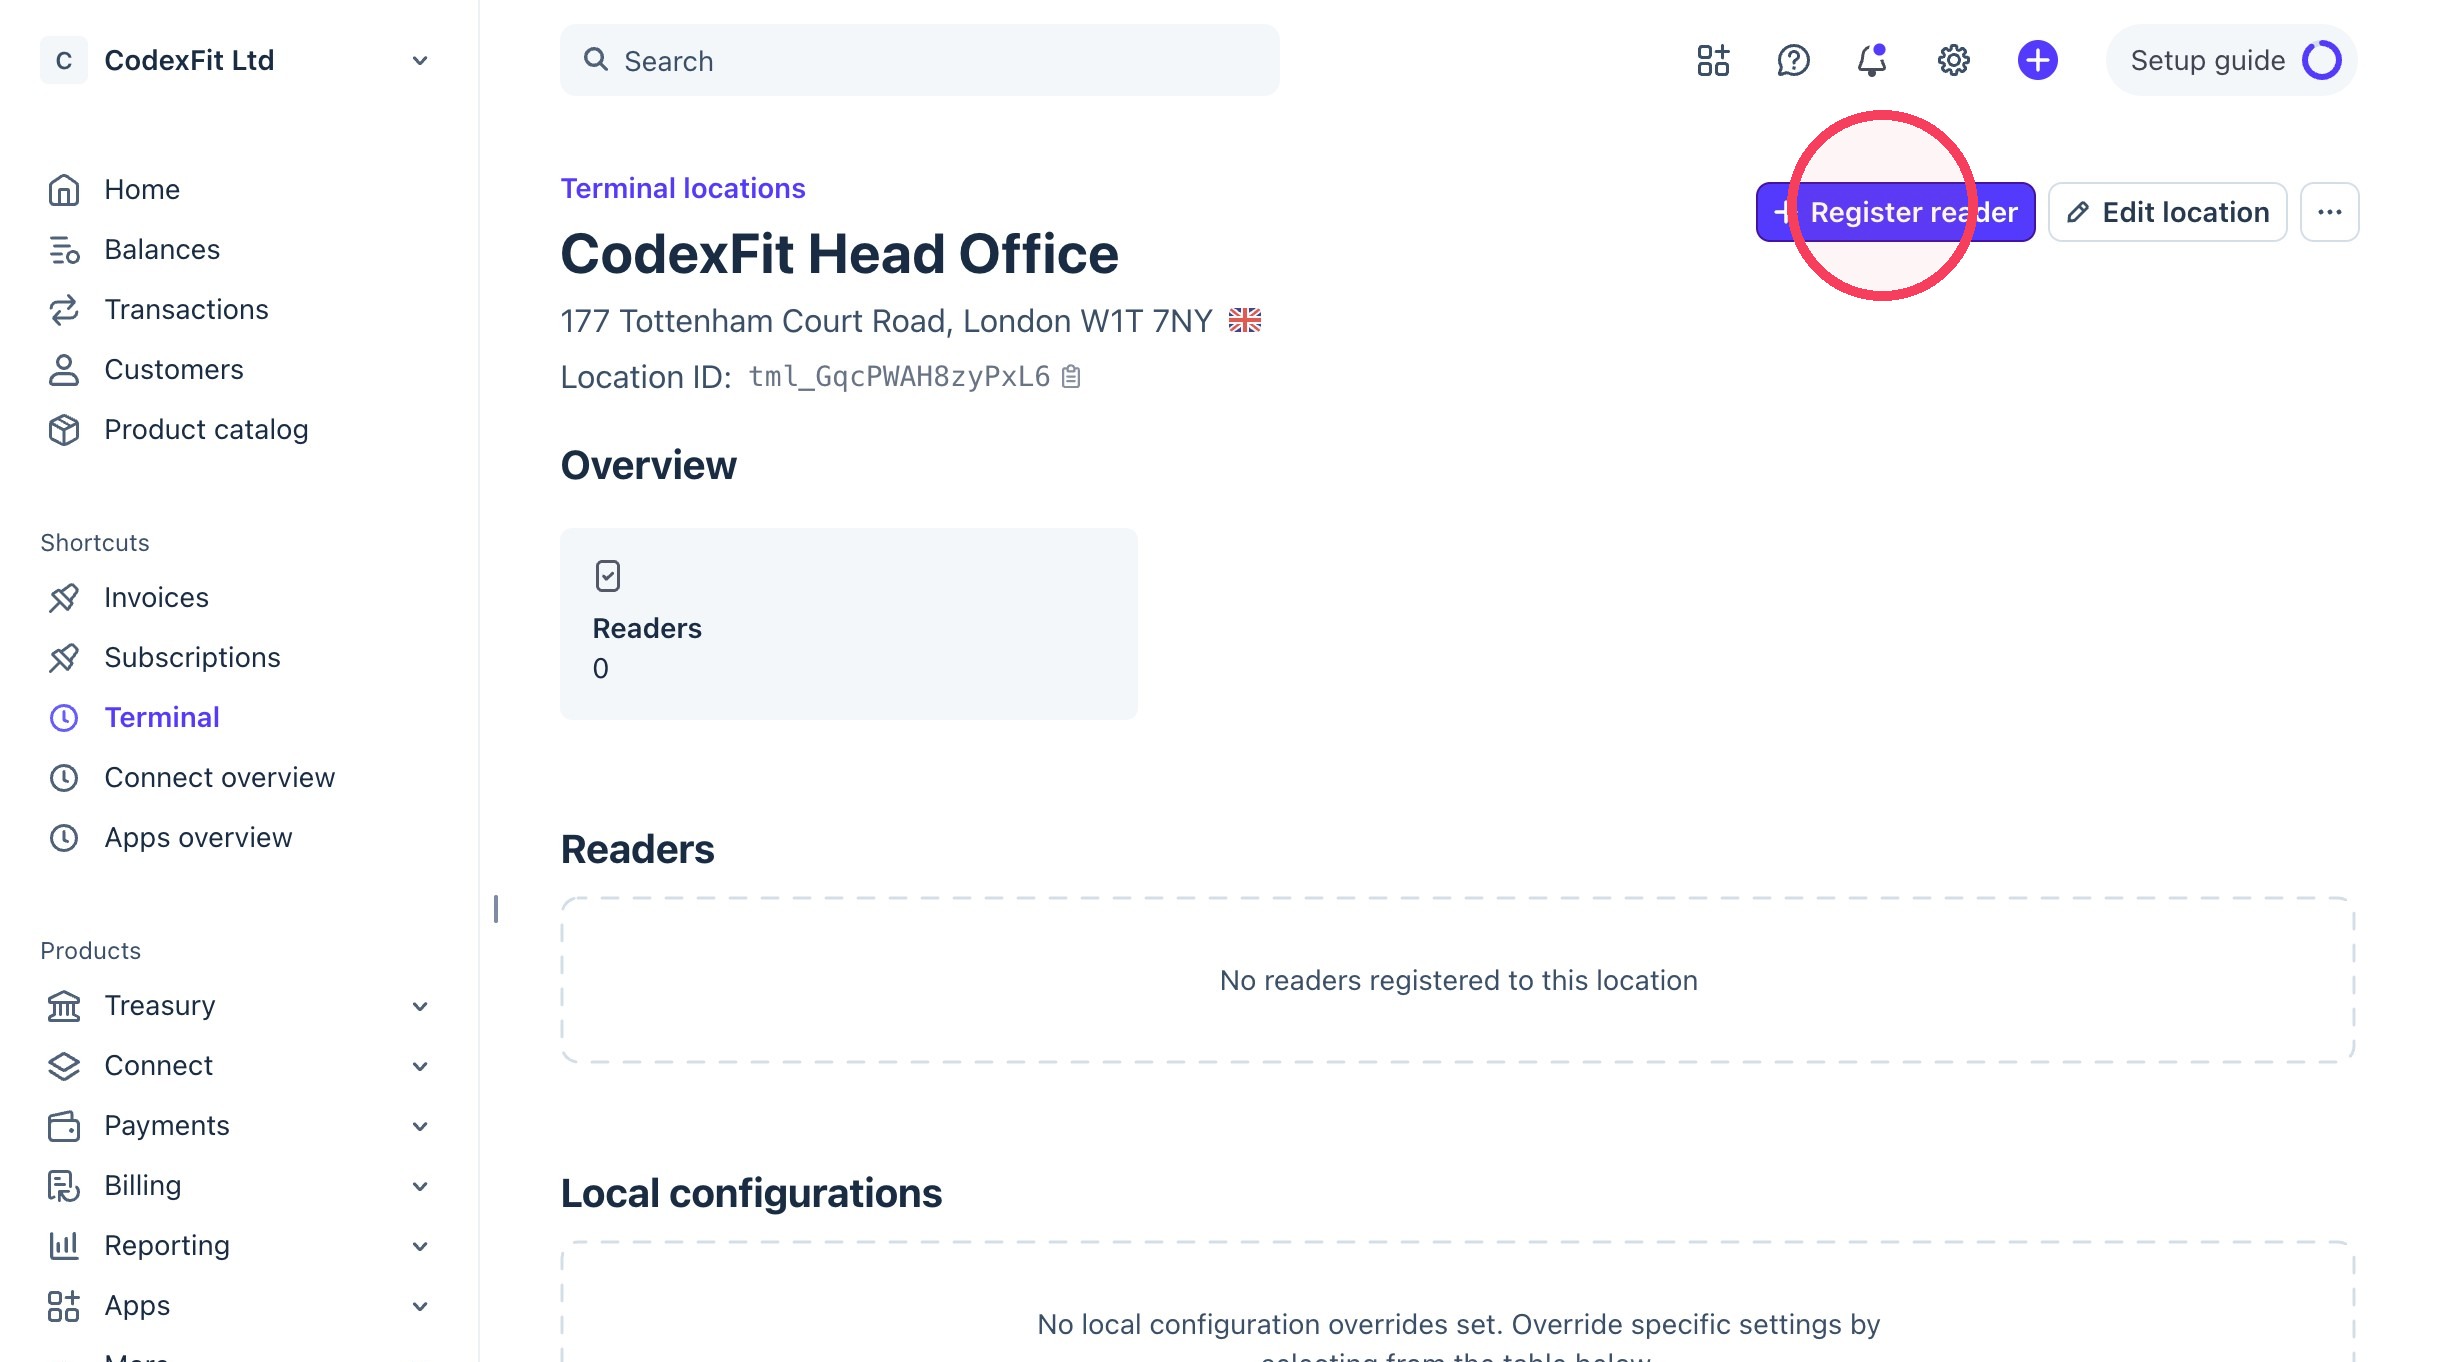
11. Enter the pairing code in the pairing code field.
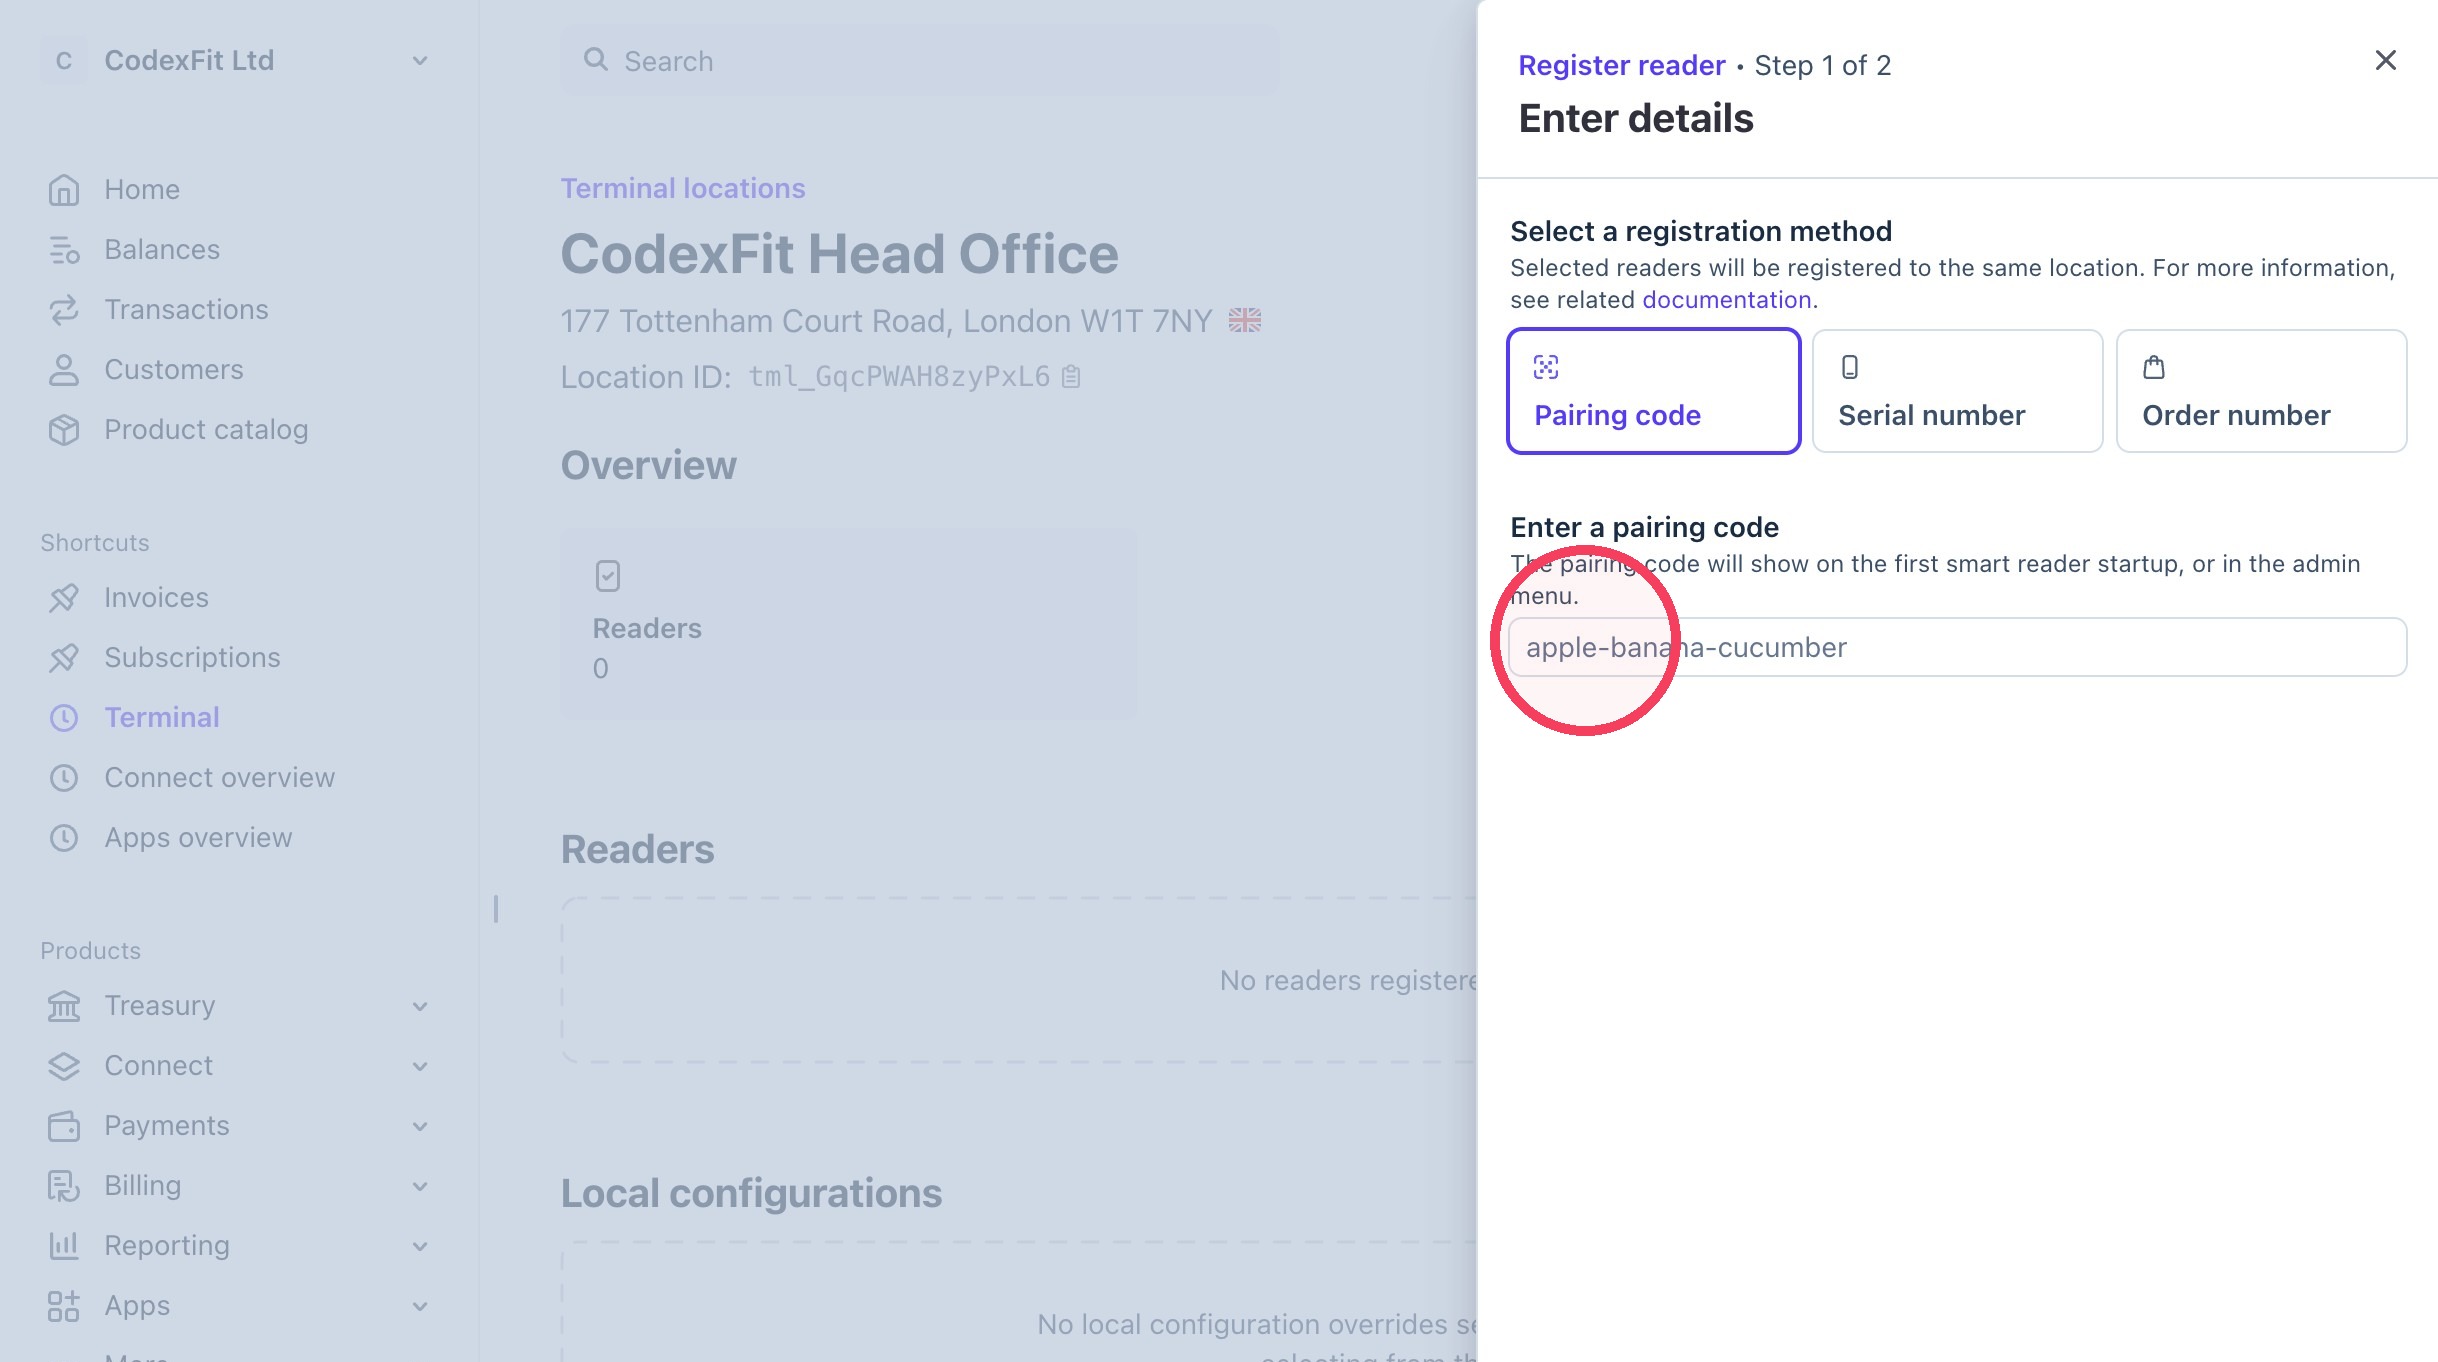
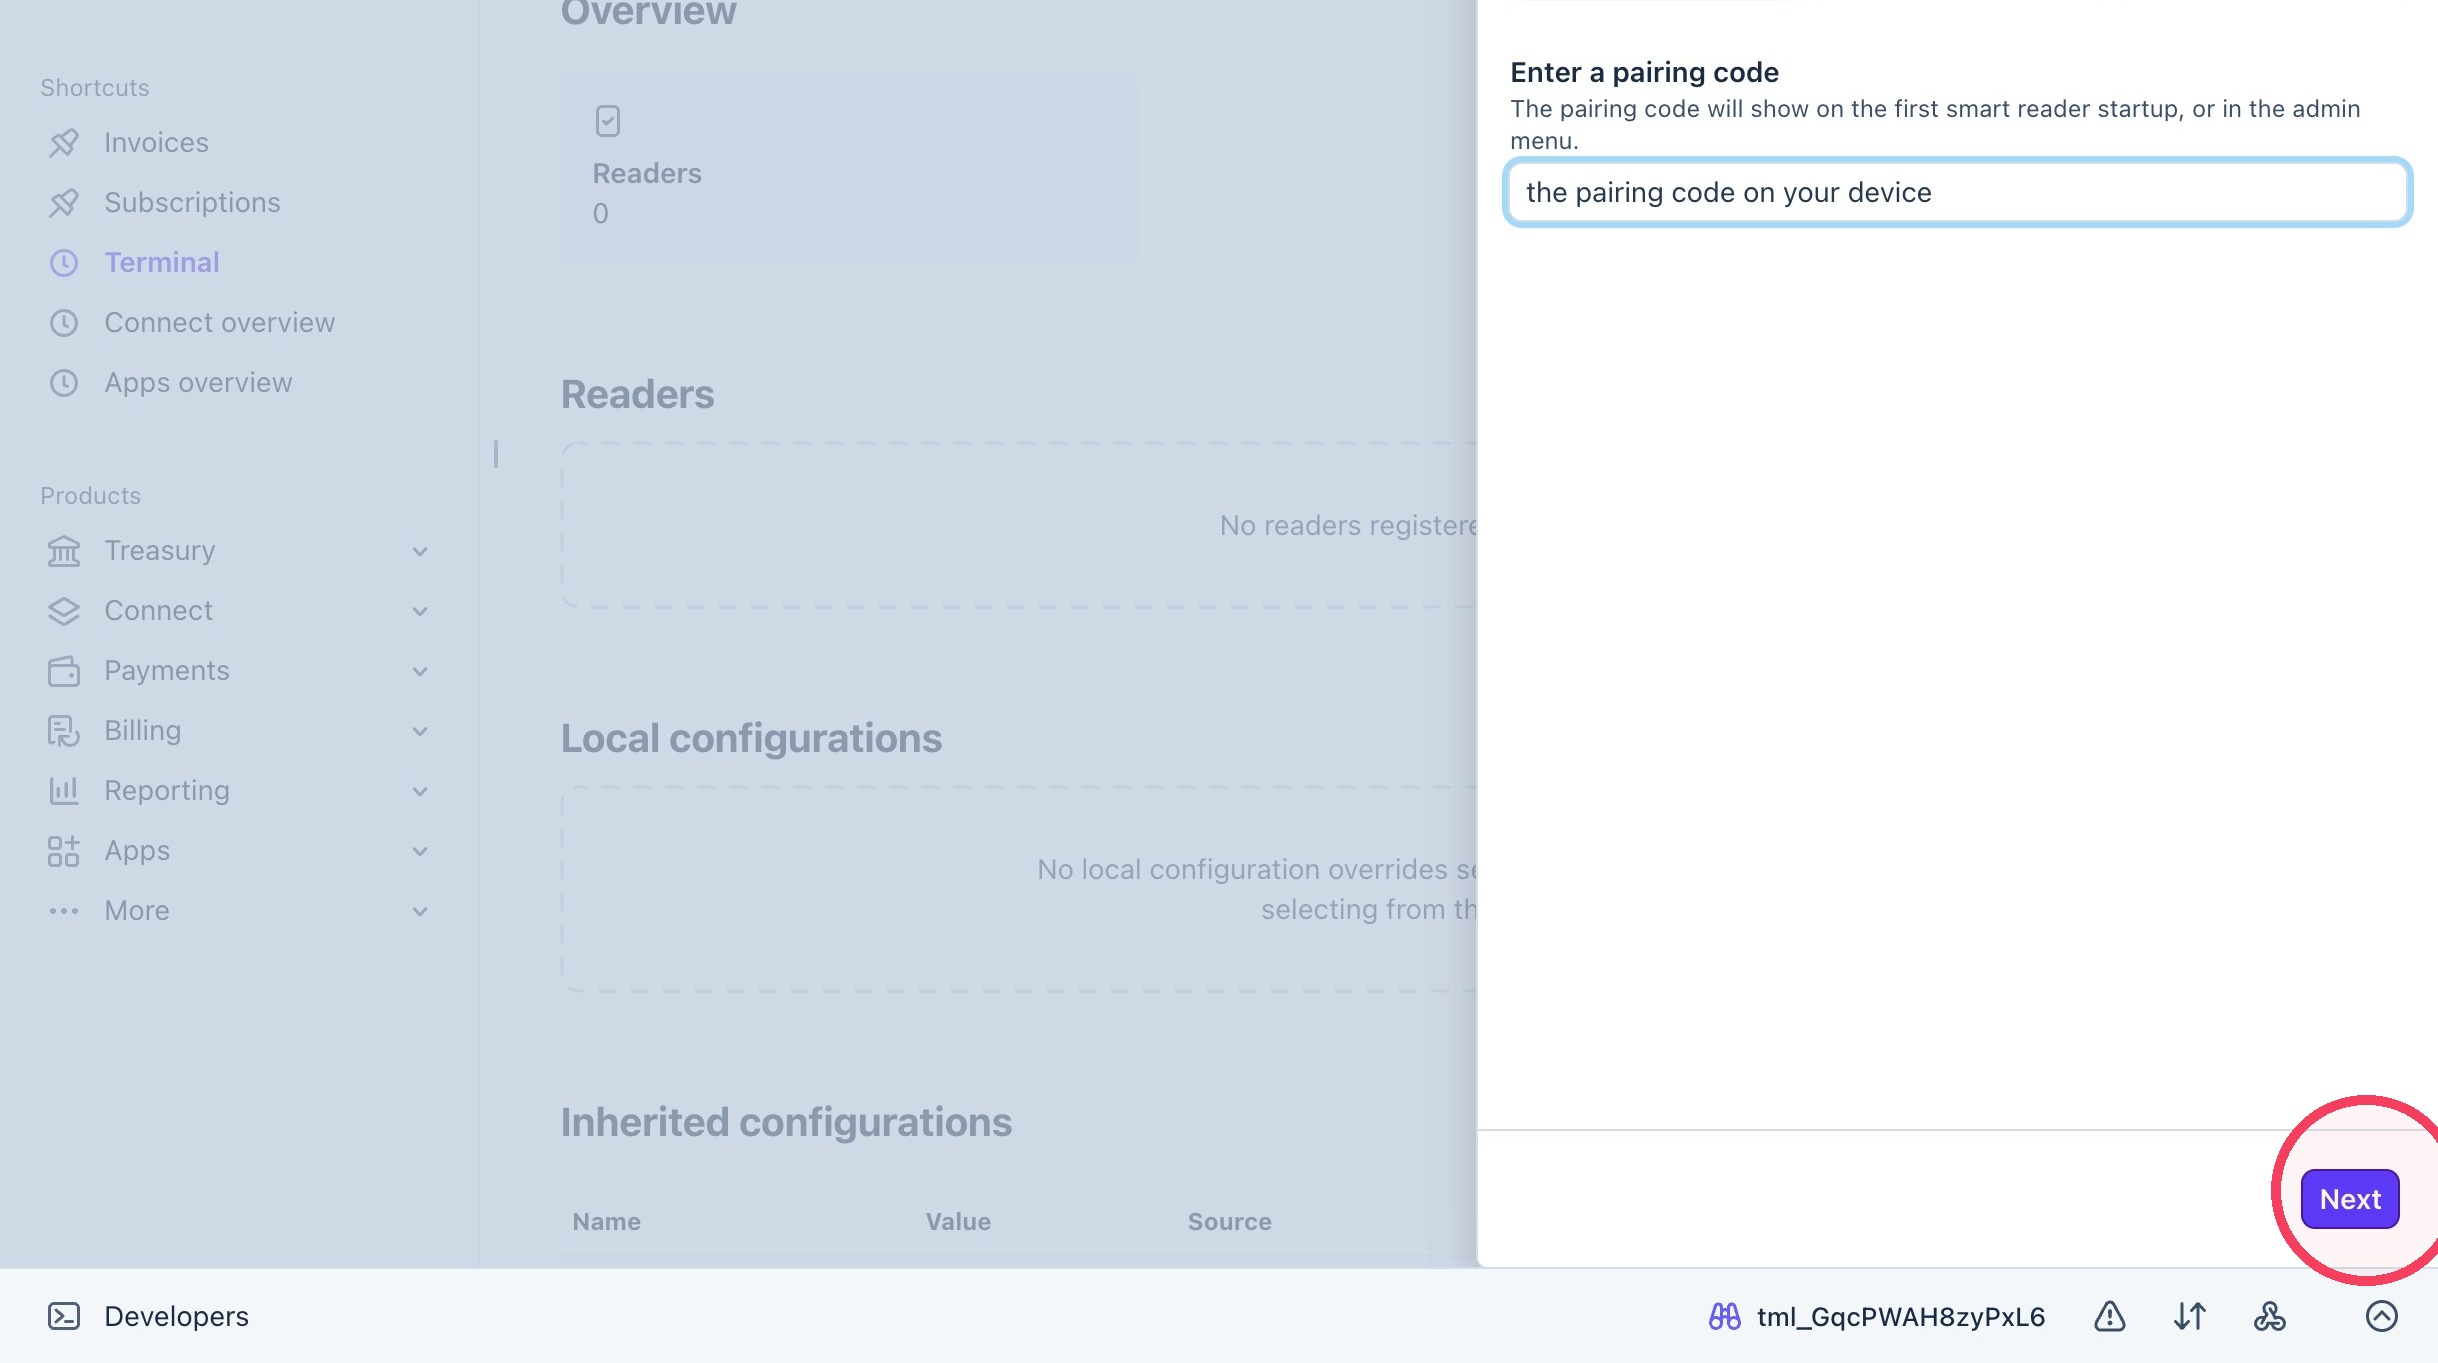
12. Click "Next"
Business Location Configuration
13. Navigate to your CodexFit admin area
14. Click "Business Settings"
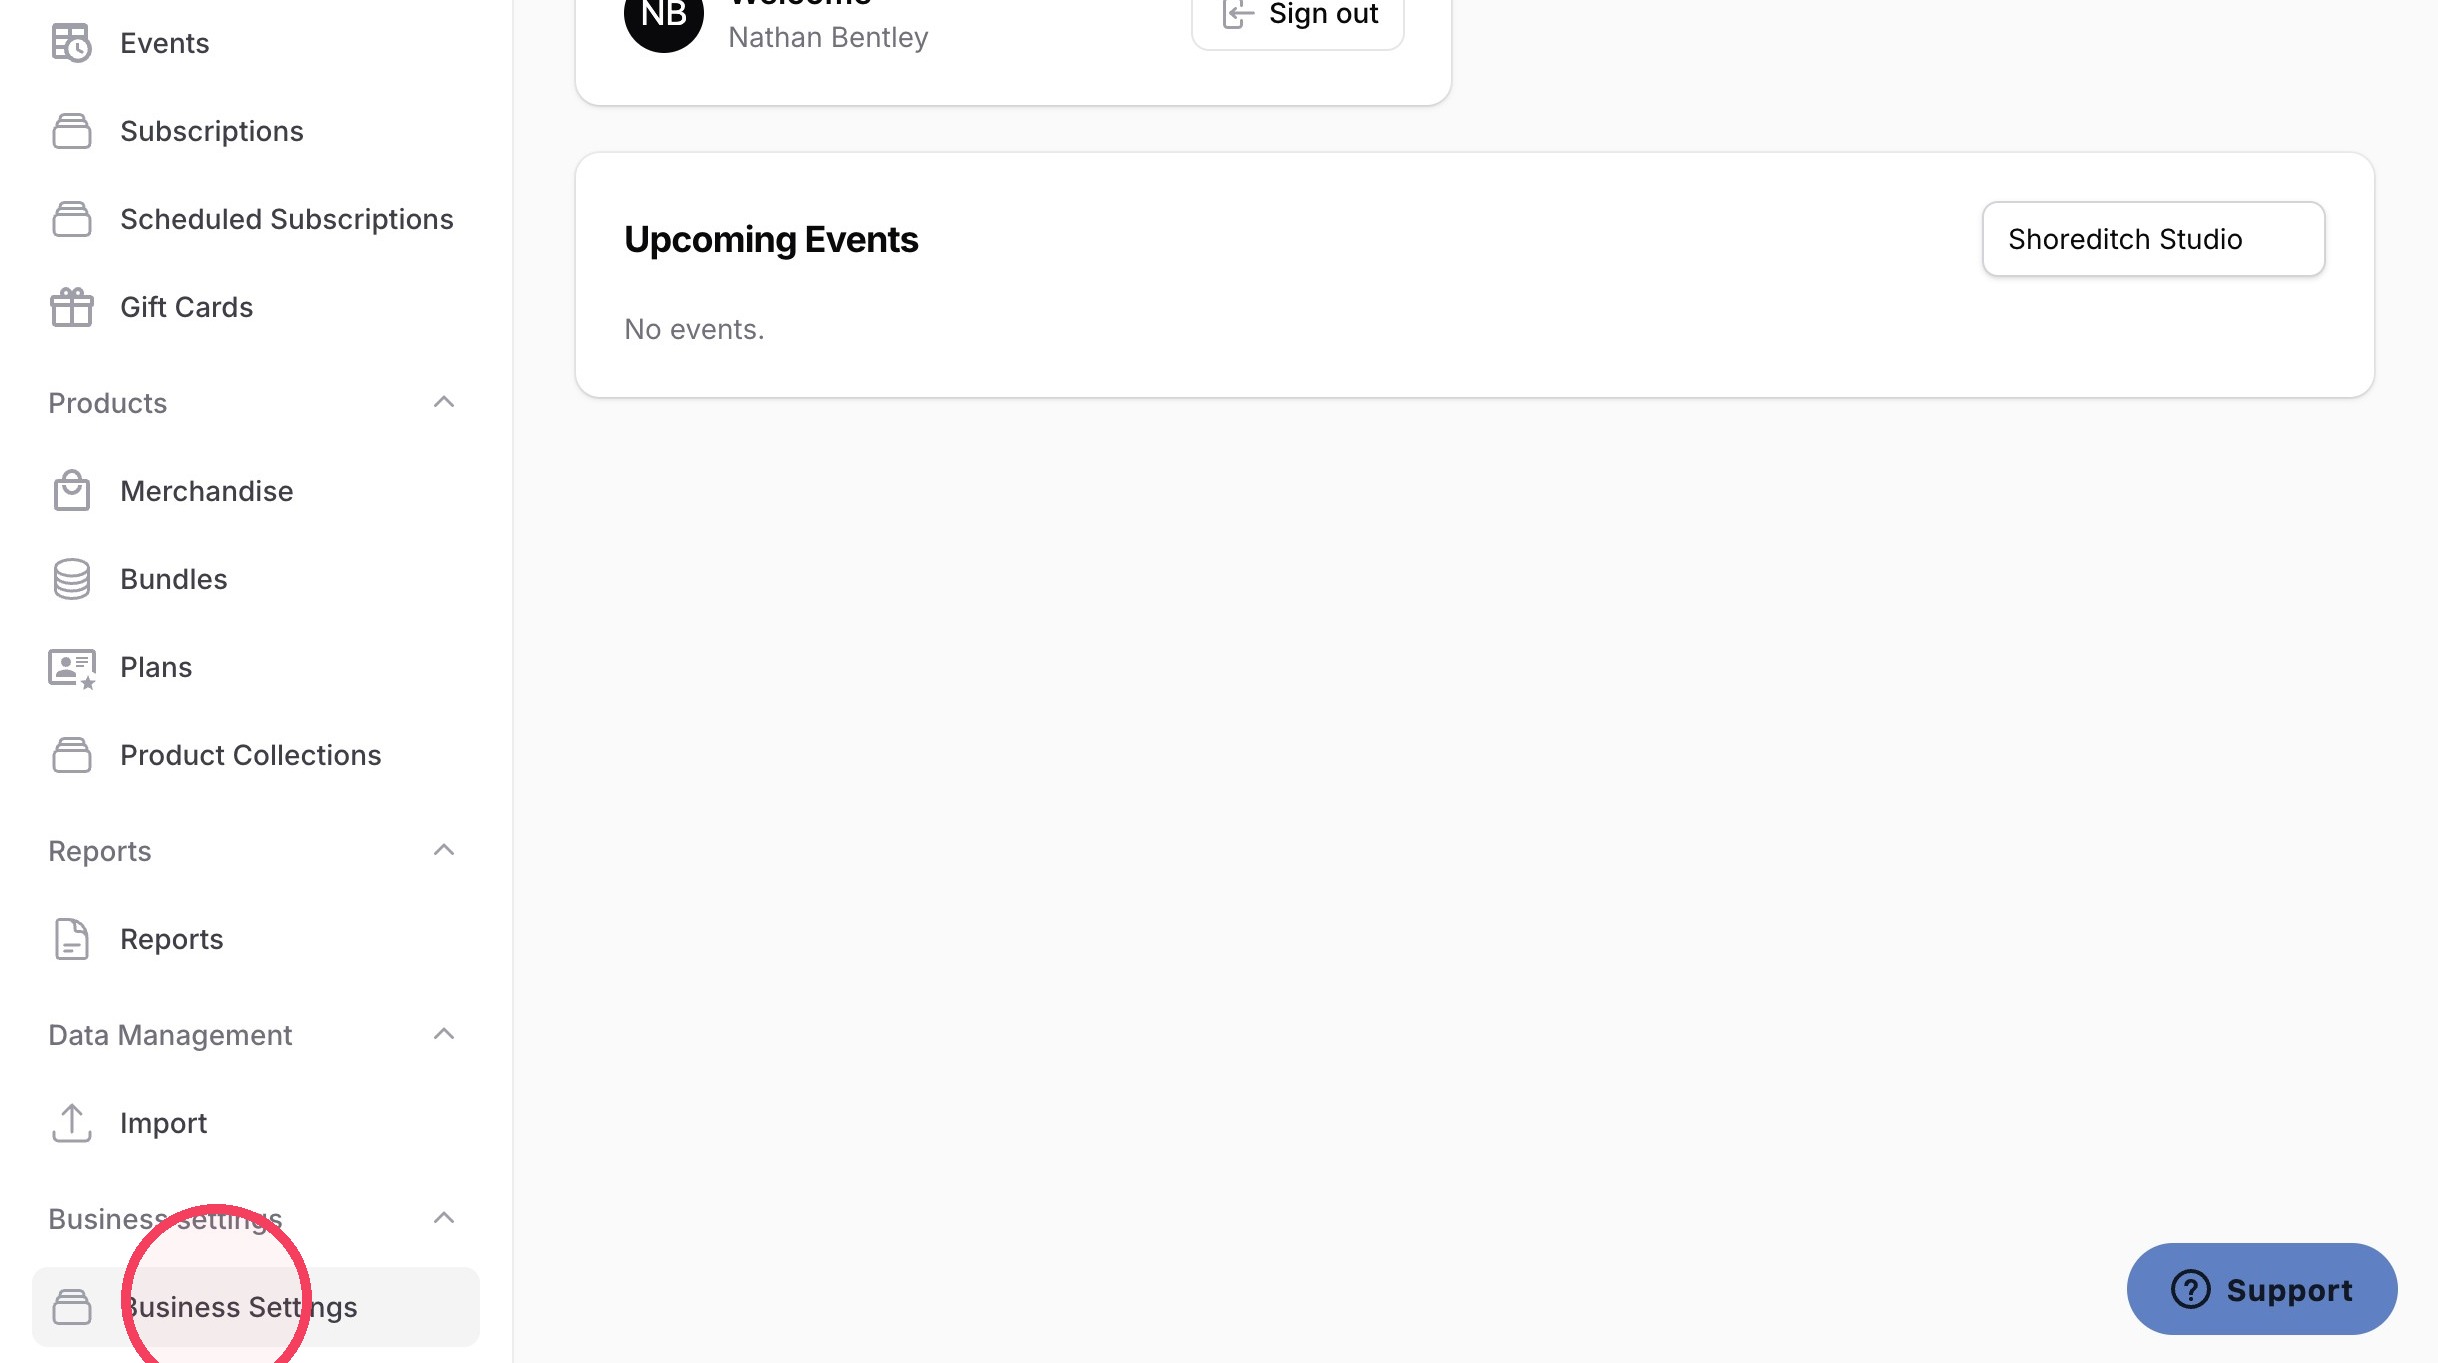
15. Click "Manage your business locations and their settings."
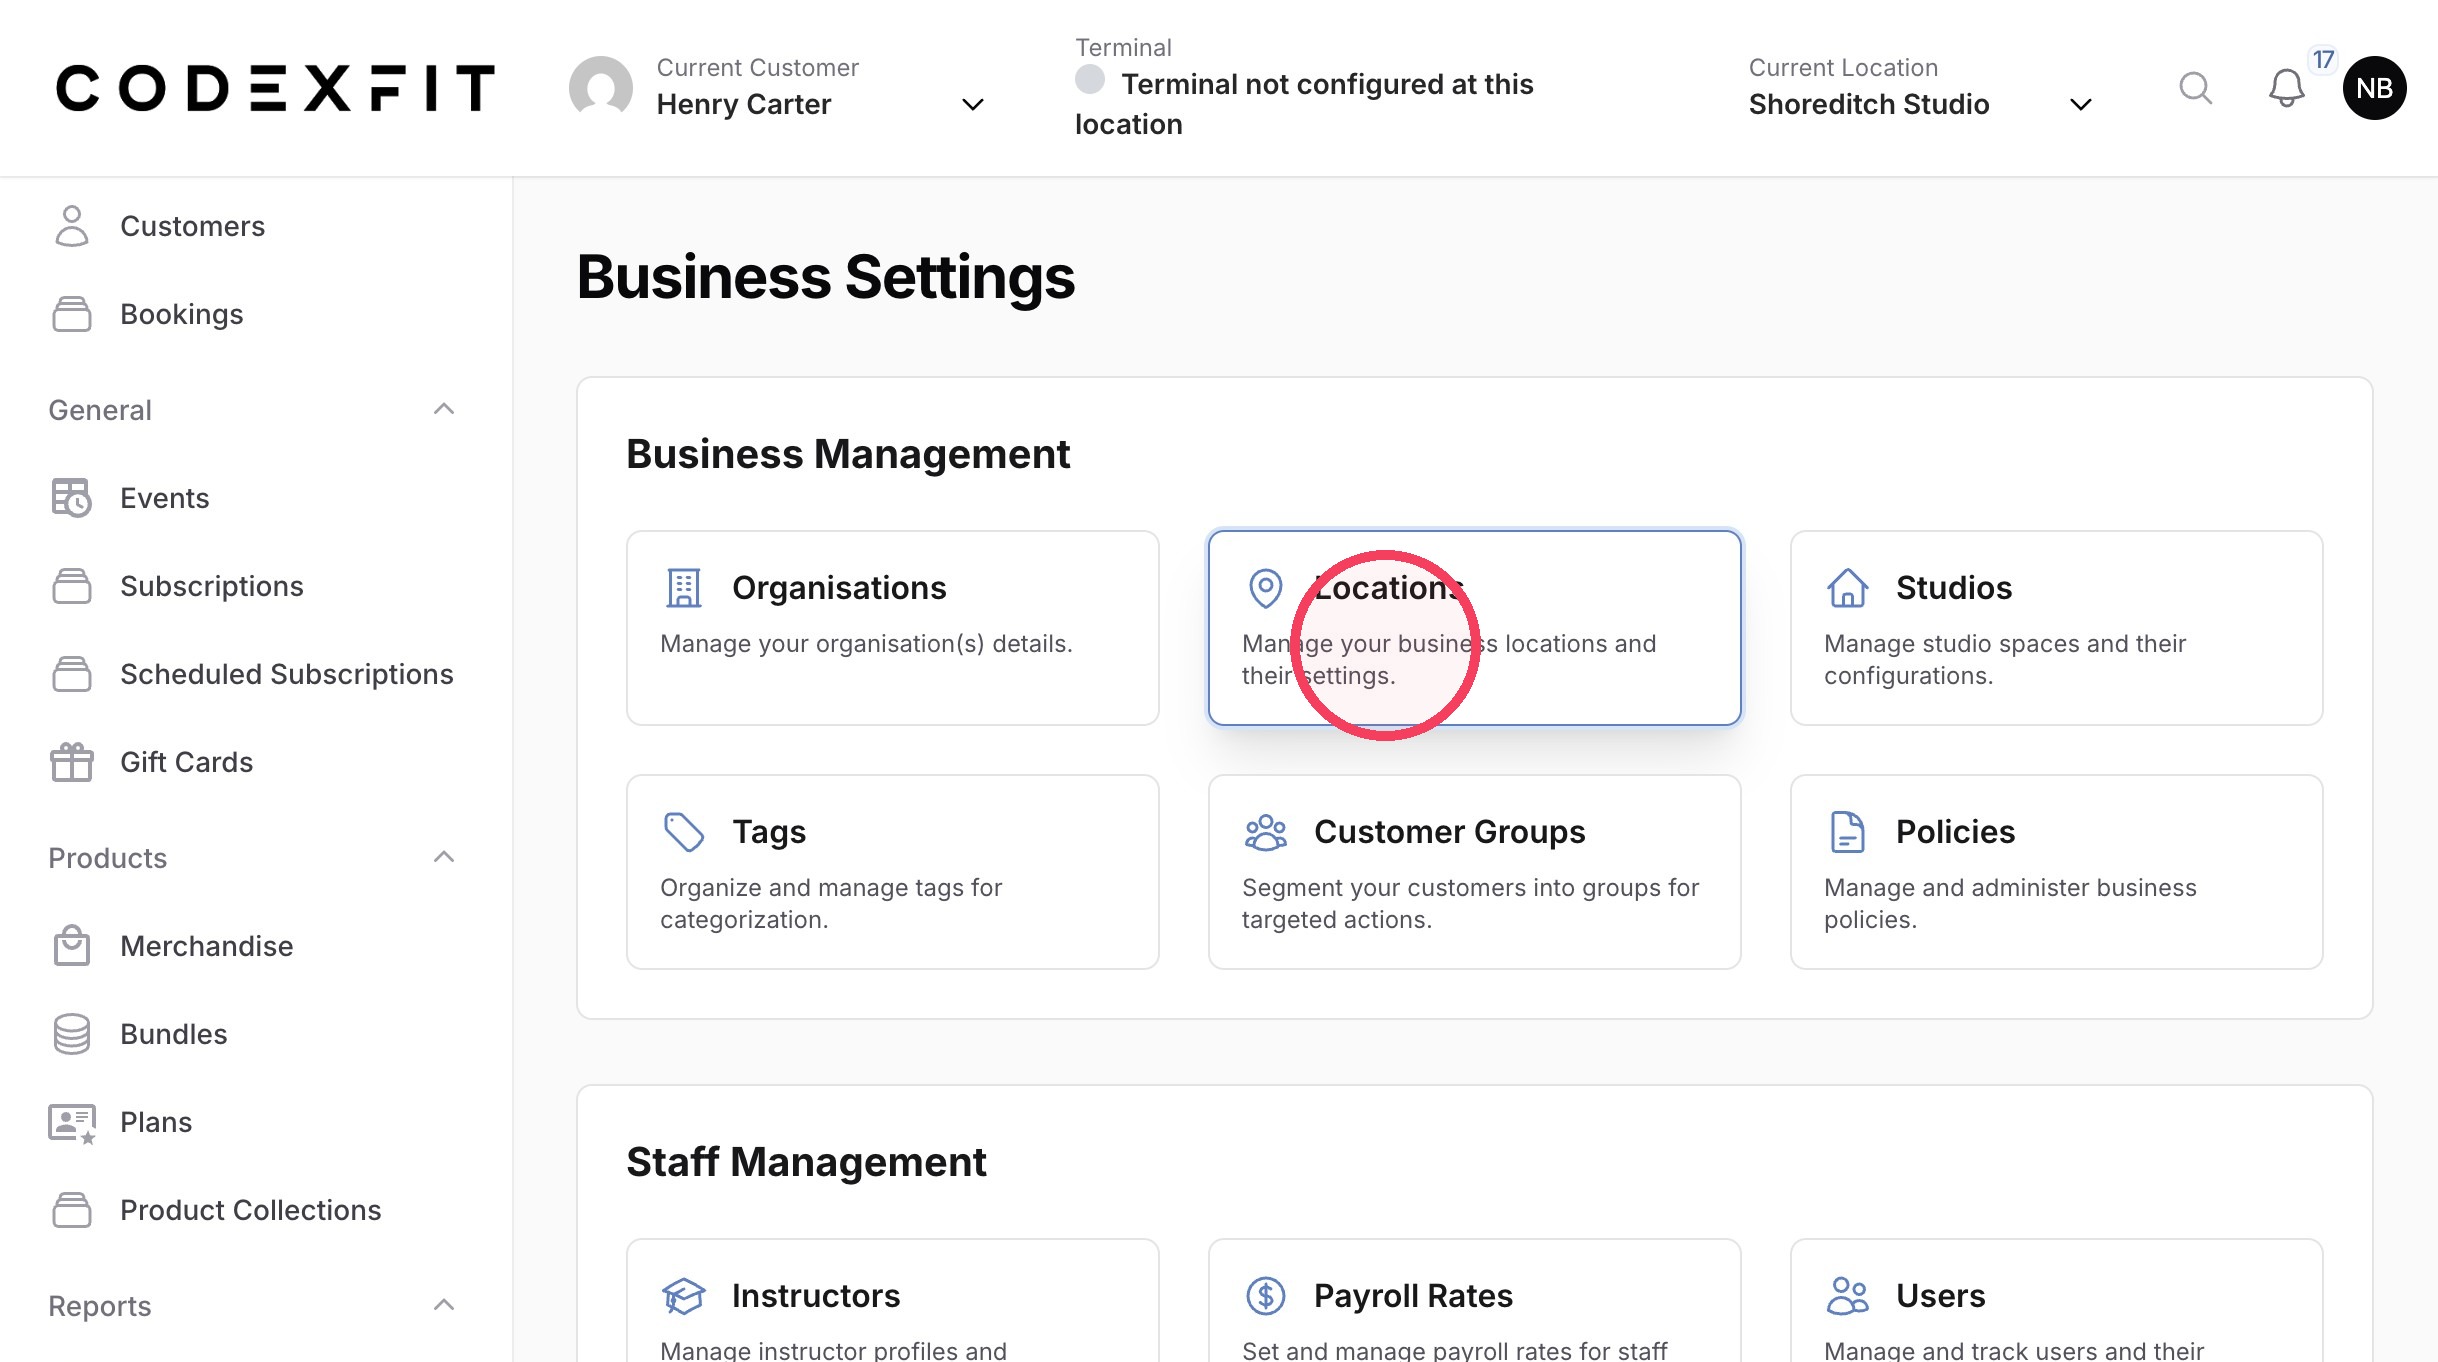
16. Click "Edit"
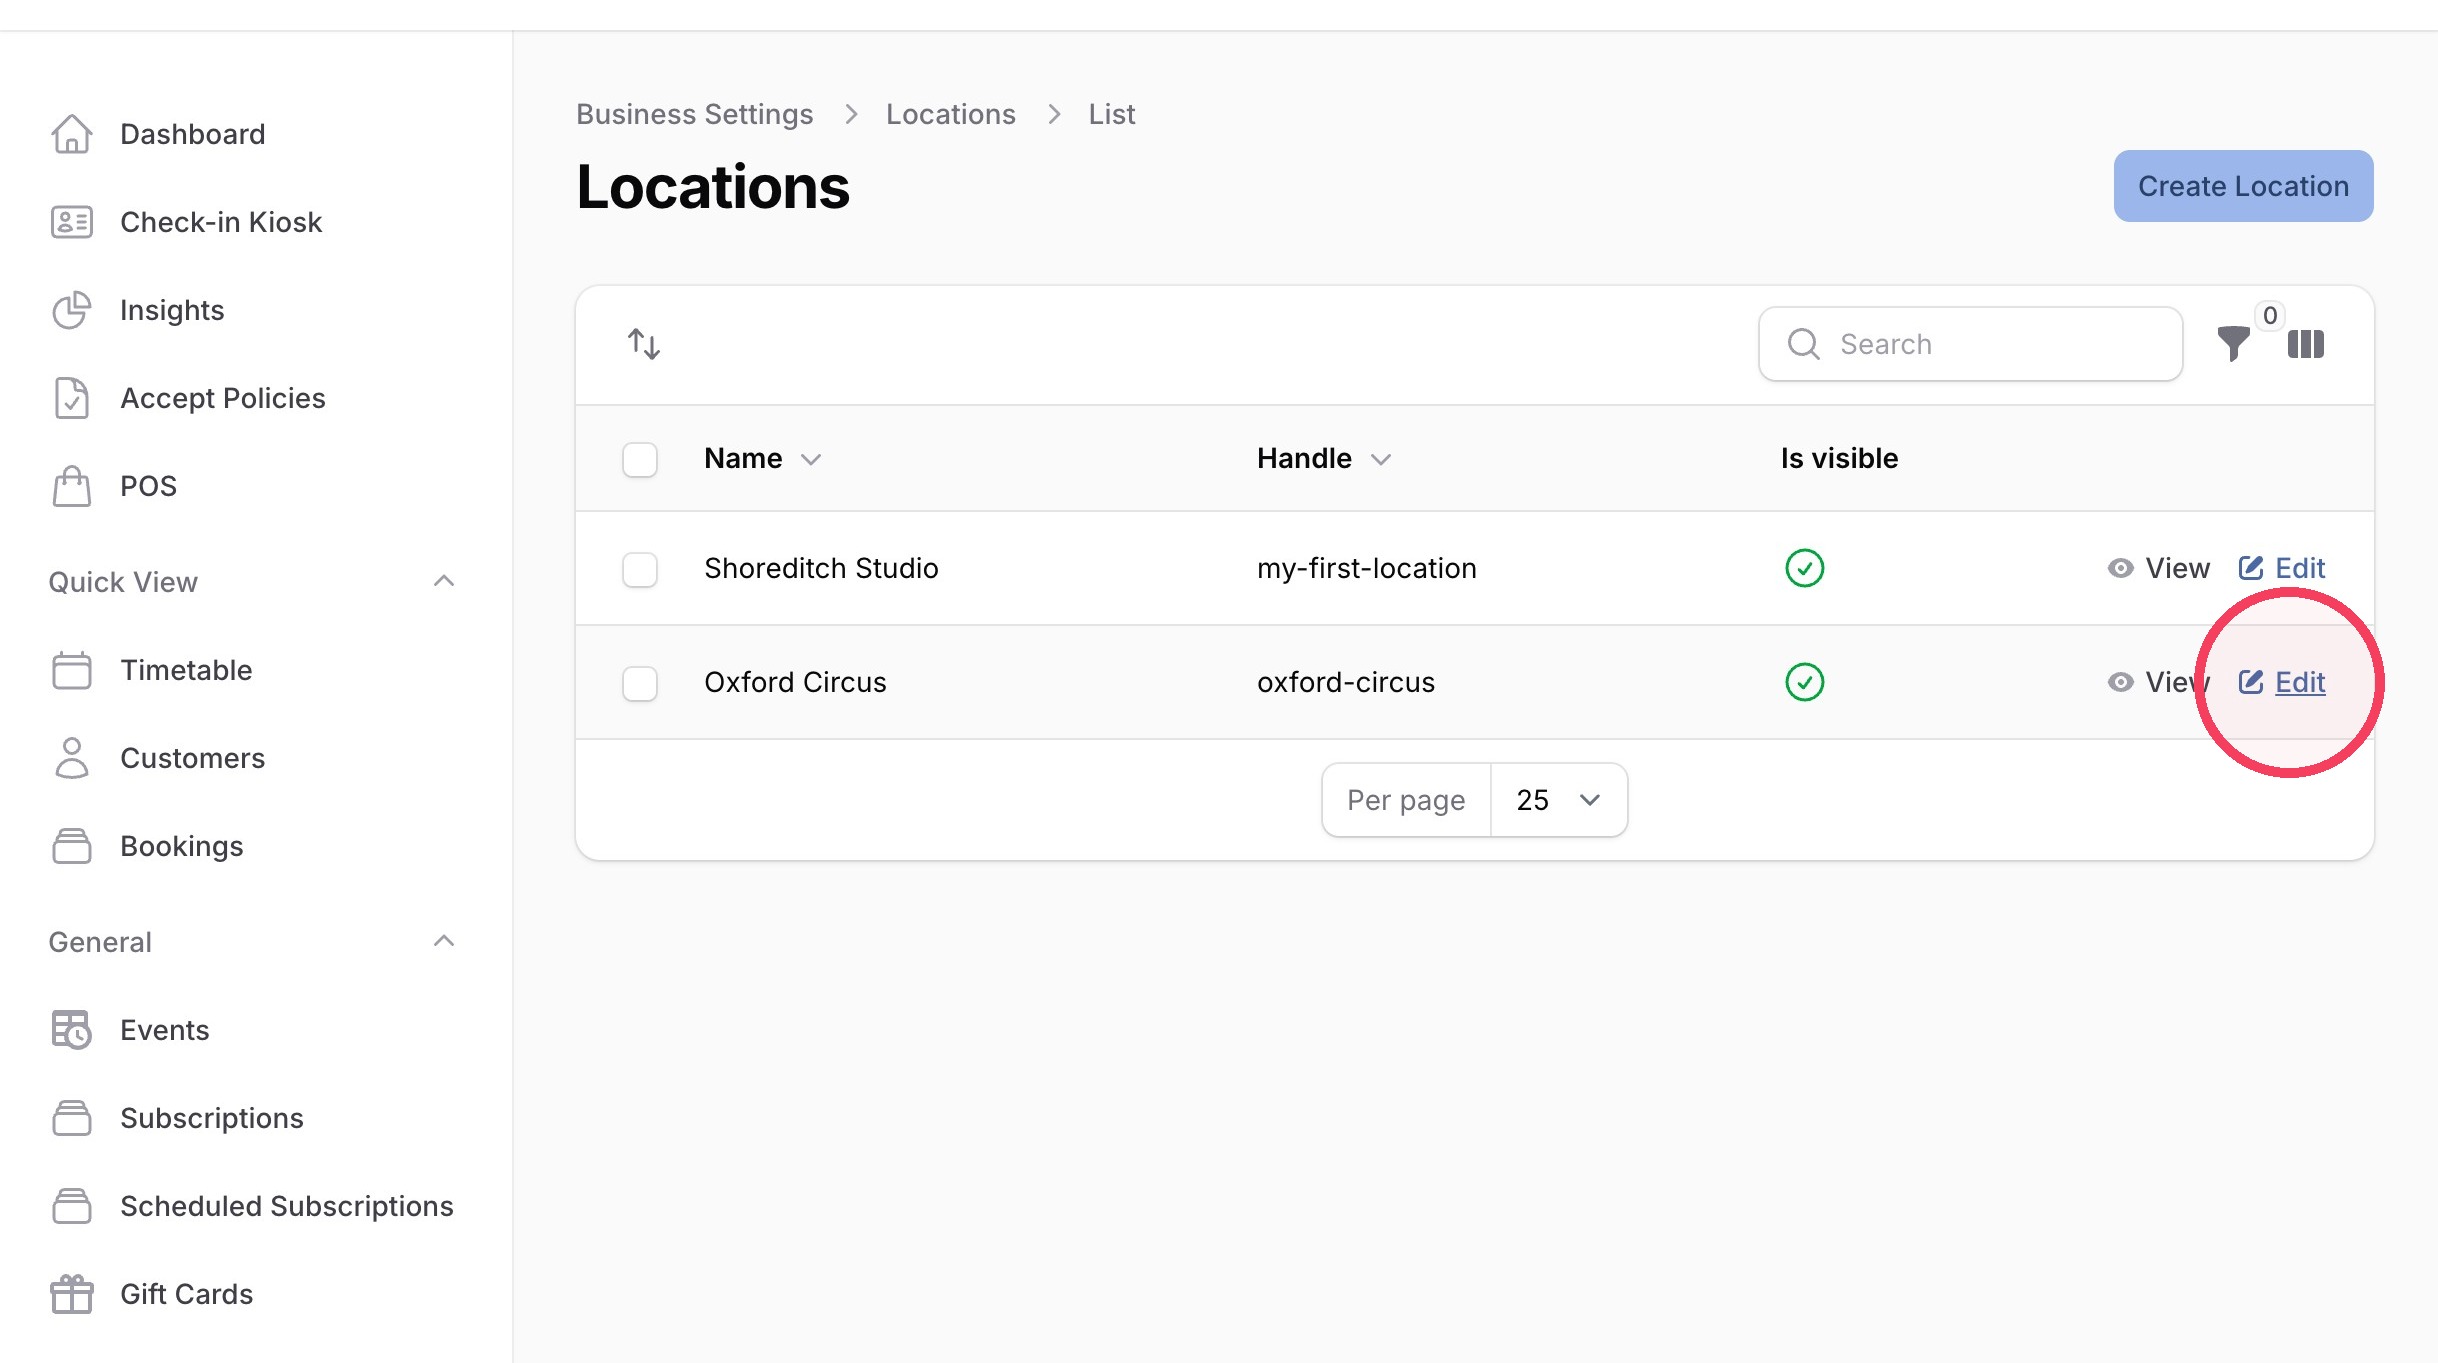
17. Open the Stripe location dropdown and select the location you added in Stripe
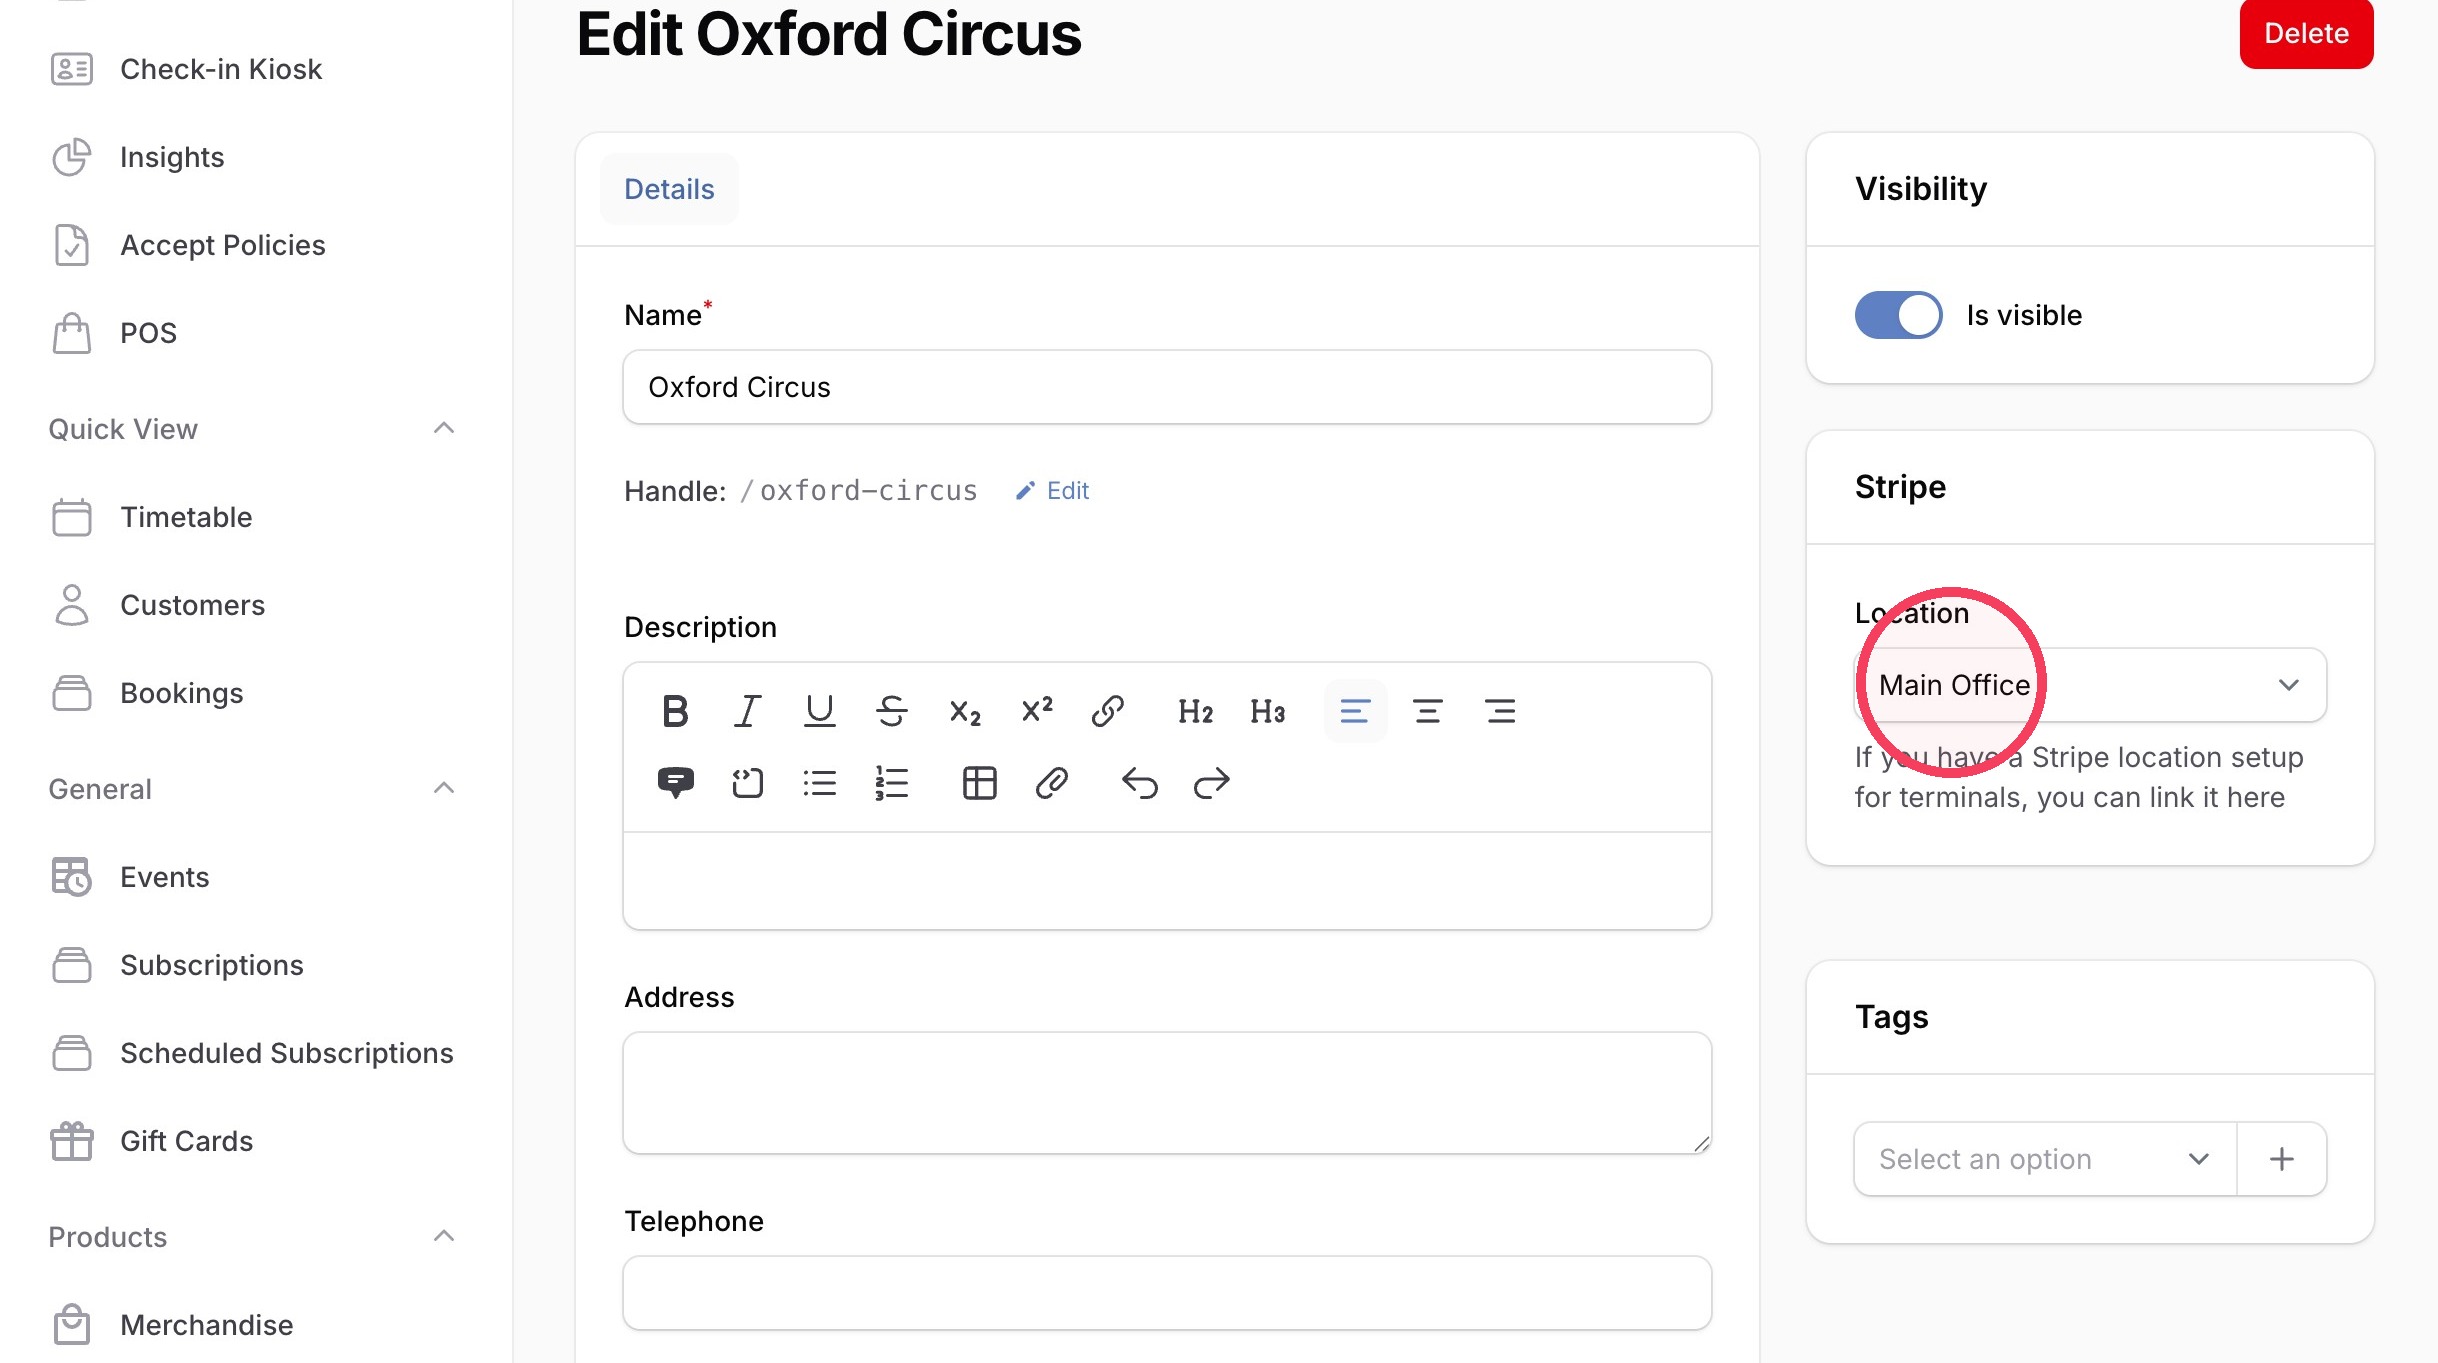
18. Click Save changes.
19. Click "Readers found"
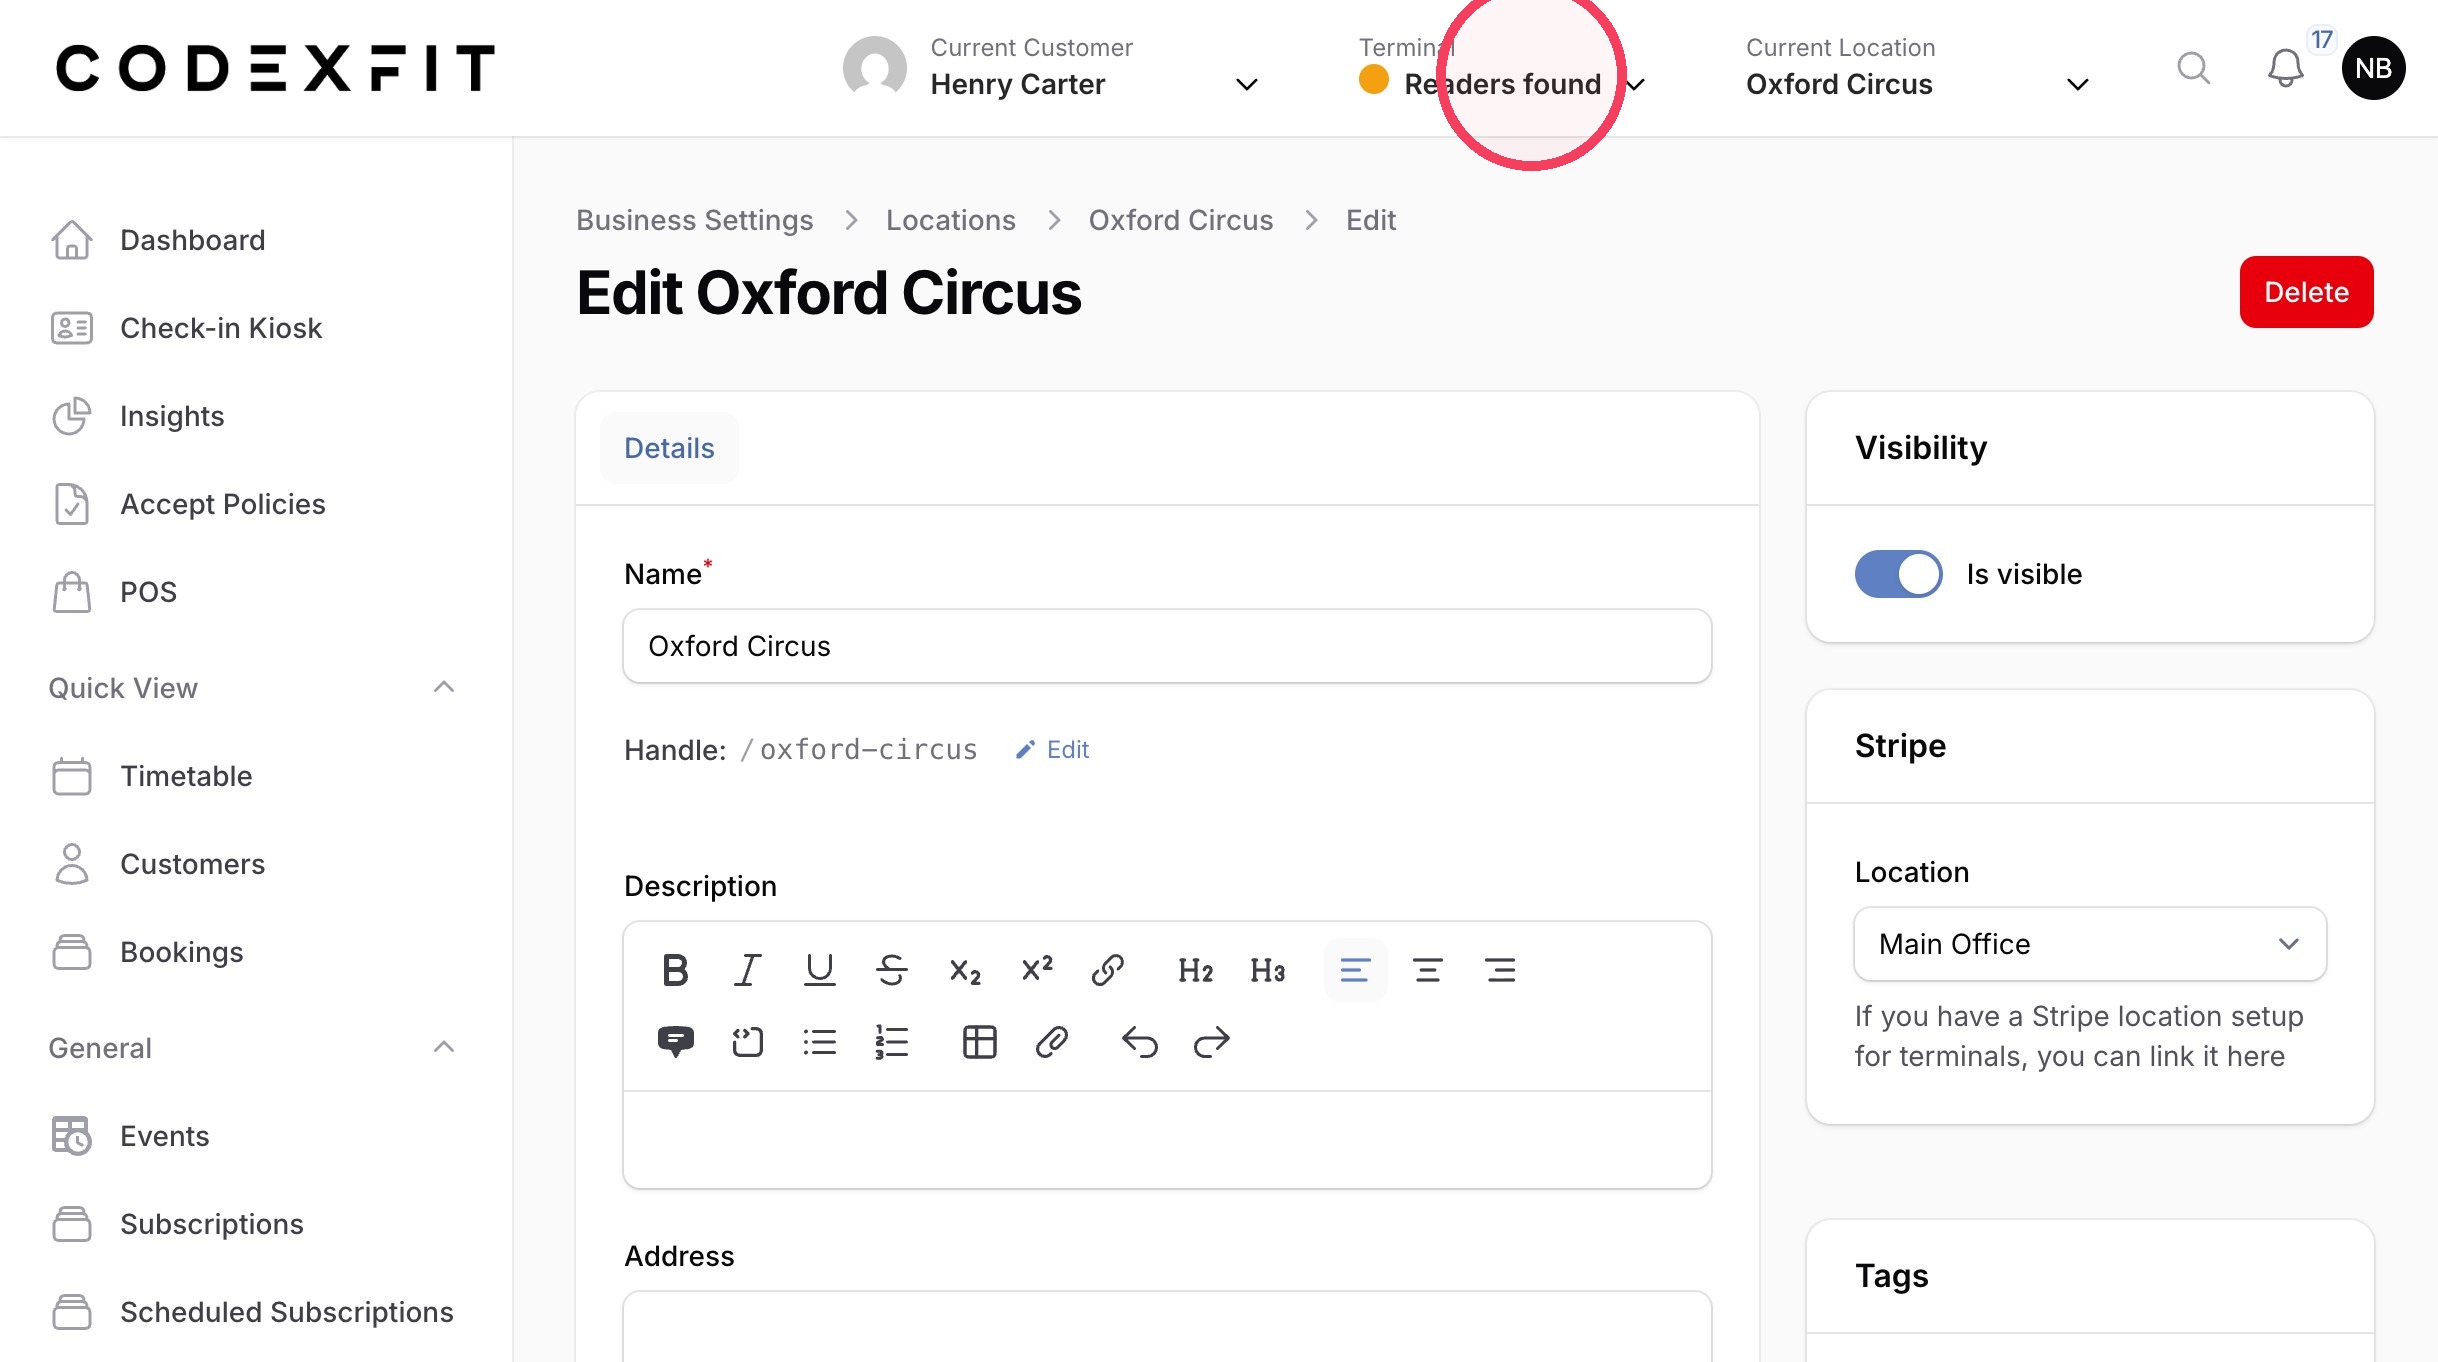
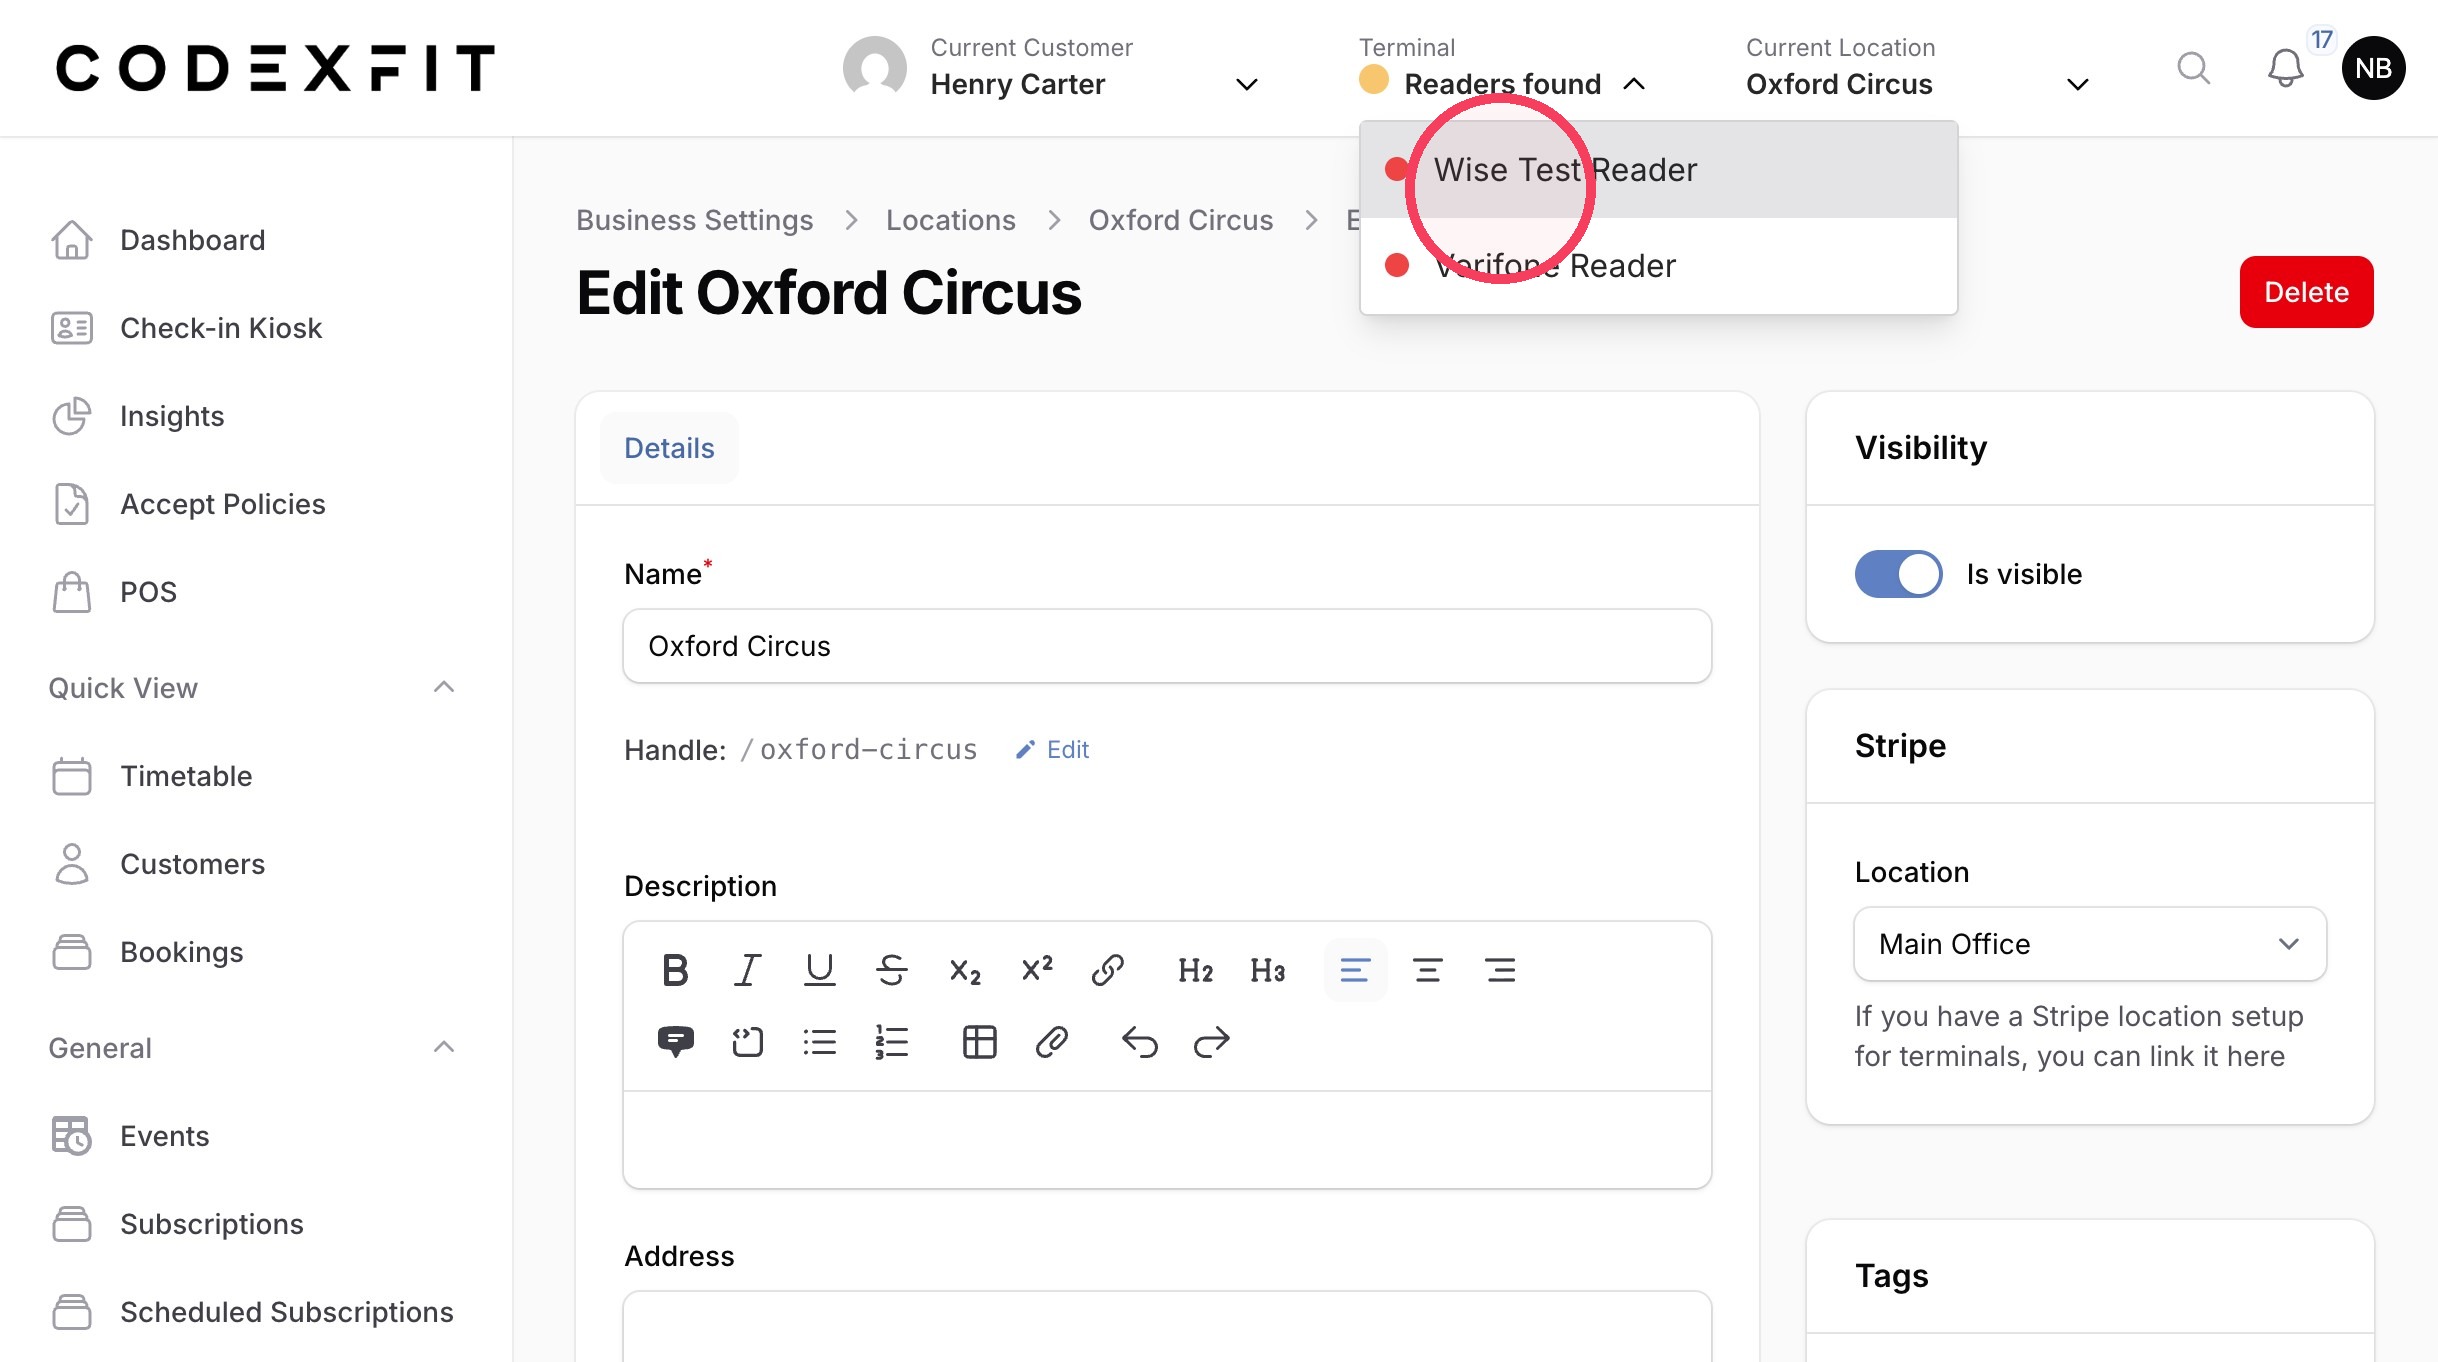
20. Locate the reader you added in Stripe and you're connected
Setting up a Stripe Terminal with CodexFit
Stripe Terminals allow studios to take in-person card payments directly through the CodexFit POS.
When a payment is started in CodexFit, the payment is sent to the Stripe Terminal connected to that studio location. The customer can then pay using their physical card, contactless payment method, Apple Pay, Google Pay or another supported digital wallet.
Once the payment is completed on the terminal, Stripe confirms the transaction and the payment is recorded against the relevant CodexFit order.
This gives your front-of-house team a simple, fully connected payment flow:
CodexFit POS → Stripe Terminal → Stripe payment → CodexFit order
There is no need to process the card payment separately or manually reconcile the payment against the sale afterwards.
Supported Stripe Terminals
CodexFit currently supports the following Stripe Terminal devices:
Stripe S710
The S710 is Stripe's portable smart payment terminal and is a good option for studios that need flexibility.
It supports:
- Contactless payments
- Chip and PIN
- Magstripe
- Apple Pay and Google Pay
- Wi-Fi connectivity
- 4G/LTE connectivity
The mobile connectivity makes the S710 particularly useful where the terminal needs to move around the studio or where Wi-Fi availability may vary.
Stripe product information:
https://stripe.com/gb/terminal/s710
Stripe S700
The S700 is a countertop smart terminal designed for regular front-desk use.
It supports:
- Contactless payments
- Chip and PIN
- Magstripe
- Apple Pay and Google Pay
- Wi-Fi
- Ethernet connectivity
This is a good option for a permanent reception or POS setup where the terminal will normally remain in one location.
Stripe product information:
https://stripe.com/gb/terminal/s700
Stripe WisePOS E
The WisePOS E is another touchscreen Stripe Terminal supported by CodexFit.
It supports:
- Contactless payments
- Chip and PIN
- Magstripe
- Apple Pay and Google Pay
- Wi-Fi
- Ethernet connectivity
It works well as a fixed or semi-portable studio payment terminal.
Stripe product information:
https://stripe.com/gb/terminal/wisepose
How the terminal connects to CodexFit
Stripe organises Terminal devices using Locations.
You should create a Stripe Terminal Location for each physical studio location where you want to take payments.
The Stripe Terminal reader is then registered against that location.
In CodexFit, you connect the relevant CodexFit studio location to its corresponding Stripe Terminal Location.
Once configured, CodexFit knows which Stripe Terminal devices are available when someone uses the POS at that studio.
Setting up the terminal in Stripe
Log in to your Stripe account at:
Then:
1. Go to Terminal.
2. Select Locations.
3. Click Create location.
4. Create a location for the relevant studio.
5. Open the newly created location.
6. Select Register reader.
7. Choose the option to register the reader using a pairing code.
8. On the Stripe Terminal device, open the pairing screen and generate the pairing code.
9. Enter this code into Stripe.
10. Complete the registration.
The Stripe Terminal should now appear as a registered reader within that Stripe Location.
Connecting the Stripe Location to CodexFit
Once the reader has been configured in Stripe:
1. Log in to your CodexFit Admin.
2. Go to Business Settings.
3. Select Locations.
4. Find the relevant studio and click Edit.
5. Find the Stripe Terminal location setting.
6. Select the Stripe Location you created in Stripe.
7. Save the location.
The Stripe Terminal associated with that Stripe Location will now be available to the CodexFit POS for that studio.
Your terminal is now ready to use.
Taking a payment
When processing an order through the CodexFit POS:
1. Add the relevant products or services to the order.
2. Continue to payment.
3. Select the Stripe Terminal payment option.
4. CodexFit will send the payment request to the terminal linked to that studio location.
5. The customer completes payment on the terminal.
6. Stripe confirms the payment.
7. CodexFit completes the order and records the payment.
Troubleshooting
If the terminal is not appearing in CodexFit, check that:
- The reader is registered successfully in Stripe.
- The reader is assigned to the correct Stripe Terminal Location.
- The correct Stripe Location has been selected against the studio in CodexFit Admin > Business Settings > Locations.
- The Stripe Terminal is online and connected to Wi-Fi, Ethernet or mobile data as appropriate.
- The terminal is showing as online in Stripe.
If a new reader has recently been registered, refresh CodexFit and try again.
Visual setup guide
You can also follow our step-by-step Stripe Terminal setup walkthrough here: